Yet another DIY headboard

These days I’m really trying to weigh the cost (in both money and time) before starting a DIY project. Sometimes–especially after purchasing all the supplies and tools–it’s just cheaper to buy something than make it. $46 for a complete bed frame from the As-Is department at Ikea? Better than DIY any day, especially when it is exactly the right piece for the room.

For Mr. Ten, a die-hard reader in bed, I thought a cushy upholstered headboard would be a good choice. He didn’t really care one way or another. In fact, he was a little suspicious–he doesn’t like change.

Undeterred, I pinned a bunch of tutorials and images of upholstered headboards. I really wanted something nice and thick. I also wanted to use another one of those old hollow core closet doors piled up in the garage. Over the Columbus Day weekend (sale at Joann’s!), I bought the foam (actually Nu-Foam Densified Batting) and batting for 50% off. Instead of upholstery fabric, I bought a canvas painter’s drop cloth at Home Depot for about $10, and a French cleat for another $10. Total investment: $42. I already own a jigsaw and staple gun.

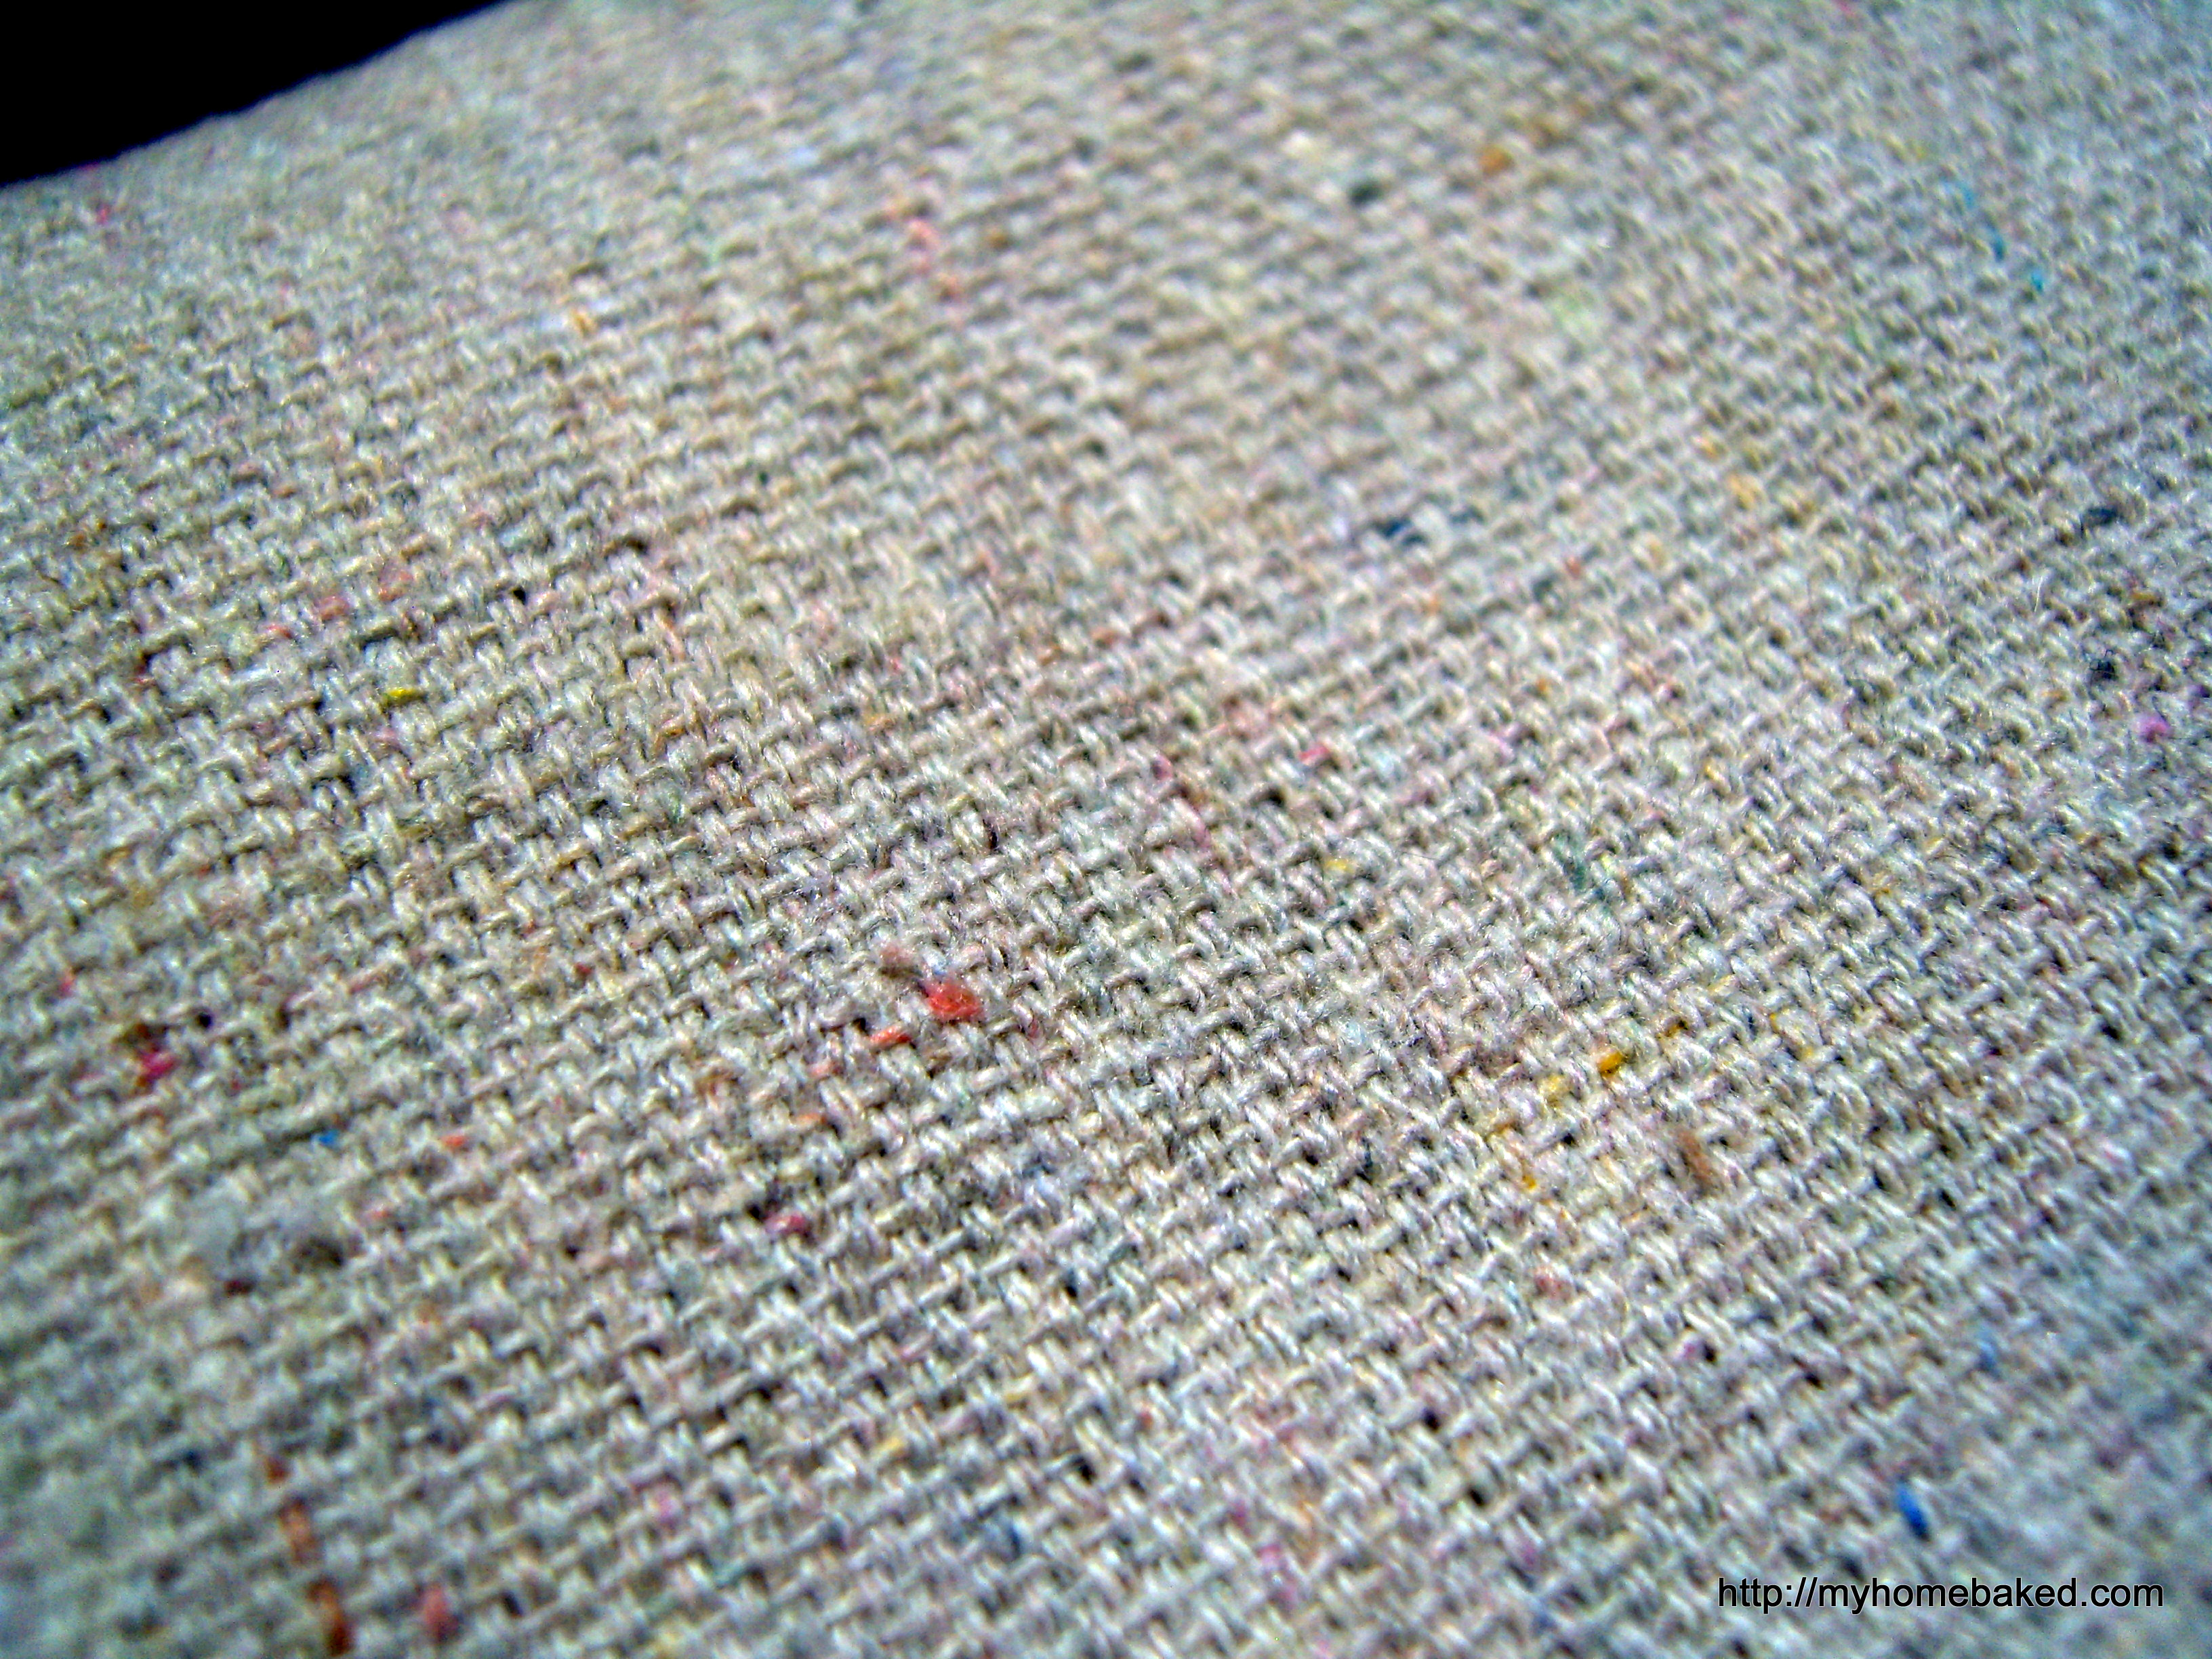
I really like the canvas fabric–it’s very sturdy and if you look closely, it has flecks of colored thread throughout the weave.

Here’s what I did:

  1. Wash and dry the drop cloth.
  2. Measure. For a queen-size bed, I decided I wanted the headboard to be 62 x 24 inches.
  3. Cut the hollow core door to size. I had a 24-inch wide door, so only had to cut off one end with the jigsaw. I briefly sanded the rough edge and nailed a random strip of plastic that I found in the garage over the open end.
  4. Measure and cut the foam to size. I bought 2 yards of foam, so I have a little extra for some future project (a seat cushion, maybe). The depth of the door plus the 2″ foam makes a thick headboard.
  5. Lay the foam on top of the door and cover with batting. I used a an entire sheet of batting intended for a twin-size quilt, and just folded it (I think in thirds).
  6. Flip the whole thing over and staple the batting to the back side of the headboard, pulling the batting snugly around (sides first, corners last). Trim the excess.
  7. Repeat with the canvas fabric. You can see I was not very precise about how it looked on the back, but as long as it is smooth from the front, who cares? Pleat the corners as best you can. (Google “how to upholster corners” and you’ll get all sorts of advice.)
  8. Hang the headboard on the wall. I was fortunate to find a wall stud centered exactly above where the bed goes. I used a French cleat to hang the headboard. The headboard is not very heavy (if you use heavier plywood, you’ll need the bigger cleat), and with the center screw of the wall bracket secured into a stud and the interlocking bracket screwed into the solid wood frame of the door (the center is hollow, but the edges are solid), it is very secure on the wall.

Mr. Ten admitted that he likes his new headboard. I sat in bed with him for a few minutes at bedtime, and it was very comfortable. In the future, I think I’d like to upholster the box spring, reinforce it and add legs to make it a platform bed. I have enough fabric left from the drop cloth, but the cost of the legs and brackets is more than I want to spend right now. In the meantime, we have some artwork to frame and hang (I’ve pinned some fun prints that might make good Christmas gifts), and I’m on the hunt for a duvet cover to sew or buy.

Advertisement

Toys that aren’t clutter: A gift guide

Last night as I was making dinner and Mr. Ten sat at the counter finishing his homework, Little Five dragged the giant canister of Tinker Toys into the kitchen so he could play and hang out with us. We have a small rug in front of the bay window where he can play without being in the way of the other kitchen action. I’ve given away a lot of toys that nobody plays with in the past year, but the Tinker Toys have never been on the list. I find them scattered around the house and yard nearly every day. More often than not, the kids are constructing something that shoots invisible lasers, but I have also seen guitars, buildings, magic wands and roller coasters.It made me stop and think about what toys have proved timeless in our house over the past 10 years. Some toys that seemed like a good idea at the time turned out to be duds (the dollhouse–not a bad toy, just not suited to its recipient). Others just didn’t mesh with my particular children’s particular personalities or they’ve simply been outgrown. I’ve learned that having fewer toys encourages a child to be more creative with the ones he has.

In the spirit of William Morris, here’s my guide to toys that stand a chance of not becoming clutter. If you’re a parent, grandparent, aunt, uncle, godparent, or are ever called upon to find a birthday gift for a child you don’t really know, this is the list for you. These are the toys that my kids still play with, even though they spend most of their days in school and gravitate toward electronic games like proverbial moths. Obviously, toys geared for babies and younger children have their place, but if I had to start over, I would focus more on toys that can grow up with a child.

  • Tinker Toys. Preschoolers can begin with these–most of the pieces are big enough for them to handle as they are still developing fine motor skills. But there is enough of a variety of parts that older children can continue to invent new constructions. We began with a small canister of wooden pieces and a few years later received a large one of plastic pieces. Together there are enough pieces for several kids to play together. The sets have evolved somewhat, but my kids and their friends keep on playing.
  • Lego. Wooden blocks are nice, but you won’t be able to pick up your newly built portal gun to see if it will shoot you into another dimension. There are lots of different building toy brands, but pick a couple and stick with them, or you’ll end up with a bunch of incompatible sets. Begin with a Duplo set for younger kids (but don’t invest in too many–they will outgrow them) and move on to the regular Legos around age 5 or 6. Kids can practice following a sequence of directions if they want to build the specific model in the kit, and later they can use the pieces to make their own creations. And as blocks go, they don’t take up that much space. I like to start with a box of basic bricks instead of the themed sets.

  • Musical instruments. Consider your sanity. A toy is no good if you’re constantly telling your child not to play with it. Don’t bother getting a recorder until your 3rd grader needs one for music class–it will just become a shrill instrument of torture to your ears. Try a harmonica instead. We loved this nice wooden drum, and still get many miles out of this percussion set. Electronic instruments are easy to break and always need batteries; instead of a keyboard, get a sturdy xylophone. Another winner was an older version of this guitar. No, it’s not a real instrument, but it’s an excellent toy for pretending to be a rock star. We’ve had it for over five years and I’ve yet to change the batteries.
  • Vehicles. Matchbox and Hotwheels cars, a train set. If you have a hardcore train fanatic in your family, you might decide to invest in some nice wooden trains. We never moved beyond a small set with a handful of extra parts. Little Five seems to prefer cheap little cars or any vehicle he builds himself out of Legos.
  • Outdoor toys and gear. Balls, scooters, bikes, sidewalk chalk, jump ropes.
  • Art supplies. Nothing fancy, just a stash of paper, a box of crayons and markers, and the occasional paint set or play dough. For older children (8+), craft kits, beads, or whatever the latest collectible bracelet craze is. (We’re drowning in teeny tiny rubber bands over here.)

  • Pretend play props. Some dress up clothes and accessories, old Halloween costumes, a doctor kit, some play food. Toy cell phones and laptops get pulled out daily.

In case you were wondering, these are the toys I avoid buying unless specifically requested.

  • Stuffed animals or dolls. Not that kids don’t play with them, but it’s a very personal choice. We have bins and baskets full of adorable stuffed animals that never get any love.
  • Noisy toys. Need I say more?
  • Coloring or activity books. These have always been immediate clutter. My kids will always ignore coloring inside the lines in favor of a blank pad of paper.
  • Anything tied to a movie or television character. Though all three kids loved Dora the Explorer when they were preschoolers, only the 10-year-old will now admit that he ever played with Dora toys way back when he was practically a baby. My daughter categorically rejects anything princess-themed, so that box of Disney dresses? Her little brother tried them on more often.

If you’re still having trouble choosing a gift, give a child a book. But that’s a topic for another day!

2012-12-22

What toys have become perennial favorites at your house? Do you have a go-to birthday party gift?

Kids’ rooms progress report

School starts in less than two weeks (cue the singing angels), and my summer goal was to have the kids’ room makeovers mostly completed. The big jobs should be finished in that time, and the smaller jobs easier to complete while my “helpers” are busy at school.

Over the weekend I painted Mr. Ten’s room. I bought Behr Paint and Primer All-in-One from Home Depot for two reasons: I prefer low-VOC paint, especially in a bedroom, and I hoped to avoid using more than two coats to cover the bright green walls. The coverage was wonderful, and I only needed one gallon to give the room two coats.

We are all pleased with new color. I even touched up the baseboards, which had suffered during my earlier paint jobs. Painting over the vinyl rocket and stars decal worked as I had hoped. As soon as the second coat was dry to the touch, I peeled off the vinyl and was left with a clean stenciled outline. The room feels calmer without two bright colors fighting for attention.

Next on the list: assemble the tall Billy bookcase (which will provide more space to consolidate books and collections in one place) and upholster a headboard.

I also scored Miss Eight’s new bed for half price. Hello, random Happy Hour sale in the Ikea As-Is department! I bought an assembled floor model of the Leirvik bed for $43. Often the floor models show some wear and tear, but this one (probably because it’s metal, not wood) didn’t have a scratch. They put it on a flat-bed cart, handed me a wrench, and helped me wheel it out to an area where the kids and I disassembled the bed so we could fit it into the car.

I also hung some artwork, but still have a couple more things to hang: the cork board and a mirror and shelf that we’re going to turn into a little vanity area.

I’m pretty sure there were other things on my summer to-do list, but I’m choosing to ignore them. Any progress is cause for celebration!

Summer ennui

For people without young children in the house, perhaps you don’t experience the change of seasons so viscerally. You go to your climate-controlled office, you come home, you go back to the office.  Things don’t change much from one month to the next.

Personally, I feel our American school calendar is for the birds. Nine months on, three months off–who needs THREE MONTHS off? Seriously, knock even one of those months off and spread the vacation days throughout the school year–or not–and we’d all be a little more balanced.

In our house we’ve all lost our momentum. The kids are bored and and snappish, and my routine is so out of whack that I haven’t planned a week’s meals in…three weeks? A month? I can’t take the anxiety of not knowing what we’re going to eat for dinner when five o’clock sneaks up on me. I can’t start some other project when I don’t even know what we’re having for dinner. Spontaneity is fine for other people, but apparently not for me.

All week I’ve been thinking about, and then avoiding, these eggplant meatballs. Saturday. We’ll make them Saturday. I finally plopped the eggplant in the oven to roast this afternoon, so we’ll be one step closer. Yesterday I didn’t know what to have for dinner, so I cooked a pot of rice (credit goes to Tamar Adler for that particular strategy). Then I got distracted by these corn cakes and decided to use up the four ears of corn in the fridge instead. With fried eggs and a handful of tomatoes from the garden, it did turn into a lovely meal (you should add a little more buttermilk to the batter, though).

I still wish I had planned it ahead of time.

Tonight we’ll be eating rice.

Beginning on the Boy’s Room: Before Pictures

I know I haven’t quite finished Miss Eight’s room–still on the hunt for a nightstand and haven’t bought the bed yet–but I did hang artwork and buy a big cork board to corral her artwork, birthday cards, and pictures of cute puppies. I also hung the canopy over her floor cushions and now she has a cushy little hiding place. She’s been spending more time in there, and unfortunately, so have her brothers. It’s a nice room. So it’s time to spruce up their spaces and leave her to a room of her own.

With 25 days left until school starts, Mr. Ten is anxious to have his room made over, and has been more helpful than ever before in the decluttering phase. These photos are after we removed everything from the walls, decluttered all the surfaces (dresser, nightstand, desk) and the closet, and packed away the Lego Harry Potter display for safekeeping. When you’re 10 you can finally let go of the bins of kindergarten-4th grade memorabilia (all that kindergarten stuff is so embarrassing), but you still keep a small box of stuffed animals on the top shelf of the closet.

Now you can see the fabulously frugal green and blue paint job that I did five years ago with leftover paint from previous projects. The new color we’ve chosen (I brought home a pre-approved selection of paint samples and Mr. Ten chose his favorite) is a blue/gray called Ozone by Behr. I hope it will be a more sophisticated and neutral backdrop to all of the colorful contents of the room. (Anything is better than that green. SO over the green. It was supposed to be an accent color, but it has spread all over the room like algae.) We’re keeping the chalkboard and I’m going to attempt to paint over the vinyl rocket and star decals, and then peel them off like a stencil. Mr. Ten is attached to the rocket, as it represents his dream of one day going to Mars.

Our list includes:

  • Paint
  • Replace the small bookshelf with a tall Billy bookcase and reconfigure the Lego storage
  • Hang artwork (a pared down and more grown up selection)
  • Add hooks to back of door and inside closet for storage
  • Change the sagging curtain rod
  • DIY an upholstered headboard and box spring

Other than a bigger bookcase, we’re not adding any furniture. A year or so ago, I got the dresser and nightstand from Freecycle. I painted, decoupaged and added new hardware to the dresser, which was sturdy but a horrible orange color. I added a darker coat of stain to the nightstand and painted the drawer fronts white. I’m still sad that I passed on the matching dresser, but we didn’t have room in the van (we’d have had to leave a couple of kids on the side of the road).

The bins next to the desk house art supplies and a variety of collections. I’d like to encourage paring those down, too, but it may take a while. I only just convinced him to part with a piñata leg saved from a friend’s birthday party three years ago. Can you really put a price on such a treasure?

To be honest, my only goal before school starts is to get the room painted. The rest should be easier to knock out in a few days while the kids are in school.

As for Little Five’s room, I have no intention of repainting it anytime soon. I do plan to reorganize a little, though–switch around some toys, maybe move a little table in for him to use as a desk, and give him someplace to display his artwork and Lego posters.

Birthday cake with fondant

I’ll be taking a little blogging break this week while we spend some time with family and friends. But I wanted to leave you with a few photos of the birthday cake I made for Miss Eight. She requested a cake “that looks like a present” (this is what comes of wandering the cake decorating aisle at Michael’s), so I finally overcame my horror of rolled fondant and took the plunge. Sort of like this:

First I baked and frosted a two-layer yellow cake with chocolate frosting. After chilling the cake for a couple hours, I covered it in white rolled fondant. I just followed the instructions on the package, but didn’t use any special tools–I found it easy enough to smooth with my rolling pin and fingers. Because I already had it in the pantry from another cake project, I used Wilton Sugar Sheets (colored edible paper) to make the decorations.

These things are so easy to use: cut out your design, peel off the plastic backing, moisten, and stick it on the cake. Especially for kids, who like bright splashy colors and designs, these are an easy way to decorate.


Miraculously, the cake survived the trip to the pool in 90-some degree weather (in a cooler full of ice), and the eight-year-old girls were lavish with their compliments. But after another hour of swimming and party fun, even the cooler couldn’t prevent the fondant from beginning to melt and slide off the cake. No matter–back at home I lifted the remaining fondant right off the cake and we ate the lovely cake underneath. I won’t be using fondant on all my cakes now–I still don’t like the taste, and most of the girls left it on the plate, too–but the ready-to-use package is a quick and relatively easy way to get a professional look.


And Miss Eight had a happy birthday, which is all that matters.

See you back here in a week or so!

Girl’s Room Progress: Almost there!

One of my goals this summer was to get the big kids’ rooms painted, reorganized and (moderately) redecorated. The pace is slow, but in the past two weeks I’ve made good progress on Miss Seven’s room. Thanks to a loose kid exchange arrangement I have with some friends, I took advantage of a few hours while all the kids were out bowling to start painting. (Just going to Home Depot all by myself to buy the paint was a huge bonus.)

Two days and two coats of paint later, we went from Calamine pink to Spa blue. I removed the broken roller shades and faded curtains and replaced them with some blackout curtains in a turquoise that I wasn’t sure I’d like, but Miss Seven picked them out at Target. We added some sheers for softness, and it turns out I like them fine.

I spray painted an old lamp and lampshade (inspired by this lamp from Land of Nod) with the rest of the can of paint I used on her desk chair a few years ago.

A trip to Ikea netted some organizers for over the desk and new bedding. The hanging rails for her art supplies are really working well. They keep everything organized, visible and in reach, but off the surface of the desk, so she has space to work. The desk has plenty of drawers, but expecting a six or seven-year-old to actually put things away in the drawers is apparently too much. I added a couple of magazine files for her to store paper–one for blank paper, one for works finished or in progress. She’s kept her desk clean all week! I’m certain that’s a record. She still needs a decent desk lamp. That little flower lamp isn’t much more than a night light.

Still to be completed:

A new bed frame and night stand. We had an old headboard propped up behind her bed, and I had rigged a slipcover for it out of a cheap quilted comforter. Honestly, the comforter looked as cheap as it was. I’ve been scouring Craigslist for other options, but we’ve settled on this bed from Ikea. Miss Seven really likes it, and it costs less than most second-hand beds. A freestanding bed frame will allow us to pull the bed away from the window a few inches, but still give her something to lean against when reading in bed.

Her current night stand is one of those little wobbly decorator tables. I’m on the hunt for something sturdier with some more surface area and a little storage.

I need to hang her little canopy above this cushiony corner that will serve as a reading nook and hideout. I priced beanbags and looked at cushion sewing tutorials, but settled on a dog bed–it’s just a big floor pillow–in a cute fabric on clearance at Home Goods. We don’t have a dog, but the cat seems to like it.

Finally, I need to hang up all her artwork, a big pinboard, and shelves to display her treasures. That bin next to the bookshelf is full of all the stuff waiting to go back on the walls. Maybe this weekend…

If you’re interested, here’s the link to my inspiration board on Pinterest. I was most inspired by this room designed by Emily Henderson. It’s not a slavish copy, but the color palette is pretty close and there’s a similar mix of textures and eclectic furniture. I’m sure Miss Seven doesn’t care where the inspiration came from, but I love nearly all of Emily’s rooms and it has been fun to try to recreate this room from her example.

Do you ever try to copy a designer room in your own home?

Linking up to Emily A. Clark’s Kids’ Spaces Link Up! Check out all the links to some really fun kids’ rooms!

Monday Menu and Recipe Review

I hope all you fathers out there celebrated well yesterday. We all enjoyed the day, and for the first time, the kids really took charge of the festivities. They planned the menu, helped shop, and prepped most of the food, too. (The key to success was doing all the chopping and mixing possible the day before, restaurant kitchen style, so that the actual cooking took very little time away from the fun–a long afternoon at the pool–on Sunday.) They also helped smell every cologne in the store to help me choose a new bottle for dad. Dad had breakfast in bed, while the crew picnicked on the floor alongside.

This week

Monday: Salmon and Roasted Vegetable Salad (to swap)

Tuesday: Black Bean Burgers (from Jen)

Wednesday: Red Lentil Dal, rice, fruit salad (mango & pineapple?)

Thursday: Turkey Chili

Friday: Lemon Pepper grilled chicken; barley salad

Last week

Monday: Shrimp salad wraps, cabbage salad with ramen noodles and almonds

Leftover green curry shrimp salad in whole wheat tortillas and extra cabbage salad from Jen. Great quick summer meal!

Tuesday: Belgian endive and ham gratin, rice, salad

Memories of Belgium, all in one dish. Two hints: steam the endive instead of boiling, so they don’t get so waterlogged, and the extra step of browning them in butter really adds flavor. I subbed some hard sheep’s milk cheese and Parmesan for the gruyère.

Wednesday: Chicken Milanese, salad, curried carrots with butter

As the kids grow and eat more, I have to think about how to stretch our meals a little further. Pounding the chicken breasts thin and breading them makes one pound of meat just enough for the five of us. I save all the heels of bread and make fresh breadcrumbs whenever I need them.

Thursday: Blue Cheese, Caramelized Onion and Bacon Galette, salad (swap with Jen)

I used the recipe as more of a suggestion, and just used what ingredients I had. I made a simple crust with half multigrain flour and butter, mixed the blue cheese with ricotta and sour cream, and sprinkled a little chopped thyme over the onions and bacon. I hope I remember to make this again!

Friday: Turkey Kielbasa with Peppers and Onions, blue cheese coleslaw (from Jen)

At Jen’s suggestion, I put the sausage and pepper mixture on a baguette, topped it with cheddar, and ran it under the broiler. And slaw with blue cheese dressing and bacon? Yum.

Roasted Eggplant and Red Pepper Marinara

Two weeks of summer vacation are already gone, and quickly, too. We’ve kept busy–in a good way–but I’m finding it difficult to blog, even if I have something to blog about. Someone is always hanging over my shoulder, or needing my attention RIGHT NOW, MOM, or just generally being noisy. Last night while supervising the brushing of teeth, I asked, “Why do you have to be so loud all the time?” Little Five answered, “We can’t help it. We’re kids.”

This morning’s noise involves repeatedly knocking wooden astronauts to the floor, accompanied by some maraca-like shaking of a plastic piggy bank. Also, yelling. Oh, and slamming doors. But I promised you a recipe, so I’m going to deliver.

I really love eggplant. Unfortunately, some of the best eggplant recipes take time, and then the kids won’t eat it anyway. Eggplant Parmesan, Moussaka….But in my experience, most of the time kids are more picky about texture than about taste. Maybe this is true of adults, too. (Exhibit #1: Miss Seven doesn’t like tomatoes, but will eat tomato soup. Exhibit #2: Pot roast? “Too chewy. Do you have any meatballs?” Exhibit #3: Liver and onions? “Ew.” Chicken liver pâté on a cracker? “Yes, please.”)

In short, if I puree it, they will eat it.

I adapted this recipe from an old Rachael Ray cookbook. I always found the cooking time way off, and the sauce was under seasoned, but the basic idea was great. Roast an eggplant, puree it, and swirl it into some garlicky tomato sauce. I roasted a red pepper, too. The combination gives a basic marinara a meatier, smokier flavor, and the eggplant even balances some of the acidity from the tomatoes and makes it a little creamy. I didn’t plan it, but all three–tomato, eggplant and pepper–belong to the nightshade family.

Roasted Eggplant and Red Pepper Marinara

Heat the oven to 400 degrees. Line a baking pan with foil (for easy clean up). Prick a large eggplant several times with a fork or sharp knife, and roast the eggplant and one red pepper until the eggplant is soft, the red pepper has browned all over (you may want to turn the pepper a few times during roasting for even browning), and both have begun to slump (45 minutes-1 hour). Let them cool on the baking pan until you can handle them.

With your fingers, peel the skin from the pepper and remove the stem and seeds. Cut off the stem end of the eggplant, slit it down the side with the knife, and scrape the flesh from the skin into the bowl of the food processor. Add the peeled red pepper and puree until smooth.

Heat a drizzle of olive oil in a deep saucepan and cook 3-5 cloves of minced garlic, just until golden, about a minute. Stir in one 28-ounce can of crushed tomatoes (mine were diced, so I pureed them with the immersion blender) and bring to a simmer. Stir in the eggplant and pepper puree, and salt and pepper to taste. Heat through. Serve over the pasta of your choice with a good sprinkling of grated Parmesan.


Kids Bake: Birthday Cupcakes

It’s my birthday today. My 40th birthday. Aside from all the lovely cards, Facebook birthday messages, and a 14-layer Lego cake, it’s pretty much a regular day. The Hub is at work, the kids are squabbling over who gets to occupy which room in their mega blanket fort, and I still have to chair a board meeting tonight. We have a little celebration planned for the weekend–featuring cocktails and grown ups–but this morning the kids worked together to bake some birthday cupcakes.

I hung around in the background, but Mr. Ten directed the operation and only solicited my help when instructed to by the recipe (mostly for handling the hot stuff).

They followed a recipe from Honest Pretzels by Mollie Katzen, which is perfect for guiding kids to be independent in the kitchen, making real food. Nothing “semi-homemade” here. The instructions are clear and complete, and broken down into numbered steps. Now that I have kids who don’t need a stool to reach the counter and can read and measure, I’m looking forward to stepping back and letting them cook for me. It takes a little longer, but that’s not a bad thing when we have long summer hours to fill.

These vanilla cupcakes are supposed to have chocolate kisses pressed into their centers, but all we had in the pantry was chocolate chips, which make a fine substitute.

If you want your kids to bake these, do yourself a favor and get the actual cookbook. If you’re a grown up and just want to bake some quick and easy cupcakes, here you go.

Birthday Cupcakes

1 1/2 cups all-purpose flour

1/2 tsp. salt

1 1/2 tsp. baking powder

3/4 cup sugar

1/2 cup milk

2 eggs

1 tsp. vanilla

1/2 cup (1 stick) butter, melted

chocolate kisses or chocolate chips

Heat the oven to 350 degrees F. Line 12 muffin cups with paper liners. In a large mixing bowl, sift together the flour, salt and baking powder. Stir in the sugar. In a small bowl or 2-cup measuring cup, whisk together the milk, eggs, vanilla and melted butter. Pour the wet mixture into the dry mixture. Beat 2 minutes at low speed with the electric mixer. Scrape down the bowl, and beat for another 2 minutes at medium speed. Scoop the batter into the prepared muffin cups and then press a chocolate kiss, upside down, into the center of each unbaked cupcake (or press several chocolate chips into the batter).

Bake for 20 minutes.