Washi tape Ikea RAST makeover

221

Lest you think I have abandoned this blog, I assure you, I have not! Unfortunately, I have not yet figured out how to make time for both blogging and an almost-full-time job. Just when I had a few posts in mind, and photos to go with them, some nagging back and neck pain exploded into constant agony from a pinched nerve (on Easter Sunday, no less), and within a few days, my right arm was fairly useless. A couple visits to the doctor and an MRI later, I was diagnosed with two ruptured discs in my neck and scheduled for surgery.

Now I’m two weeks post-surgery, and feeling much better. The pain from the the pinched nerve is gone, and I’d say my arm is about 50% better (some physical therapy is probably in my future). Recovery from the surgery itself is going well. Though I’m restricted from lifting anything heavier than a gallon of milk and not allowed to drive yet, I think I’ll be back to most of my usual activities very soon. If the rest of the family has to carry the laundry baskets and groceries and run the vacuum for a while longer, so be it.

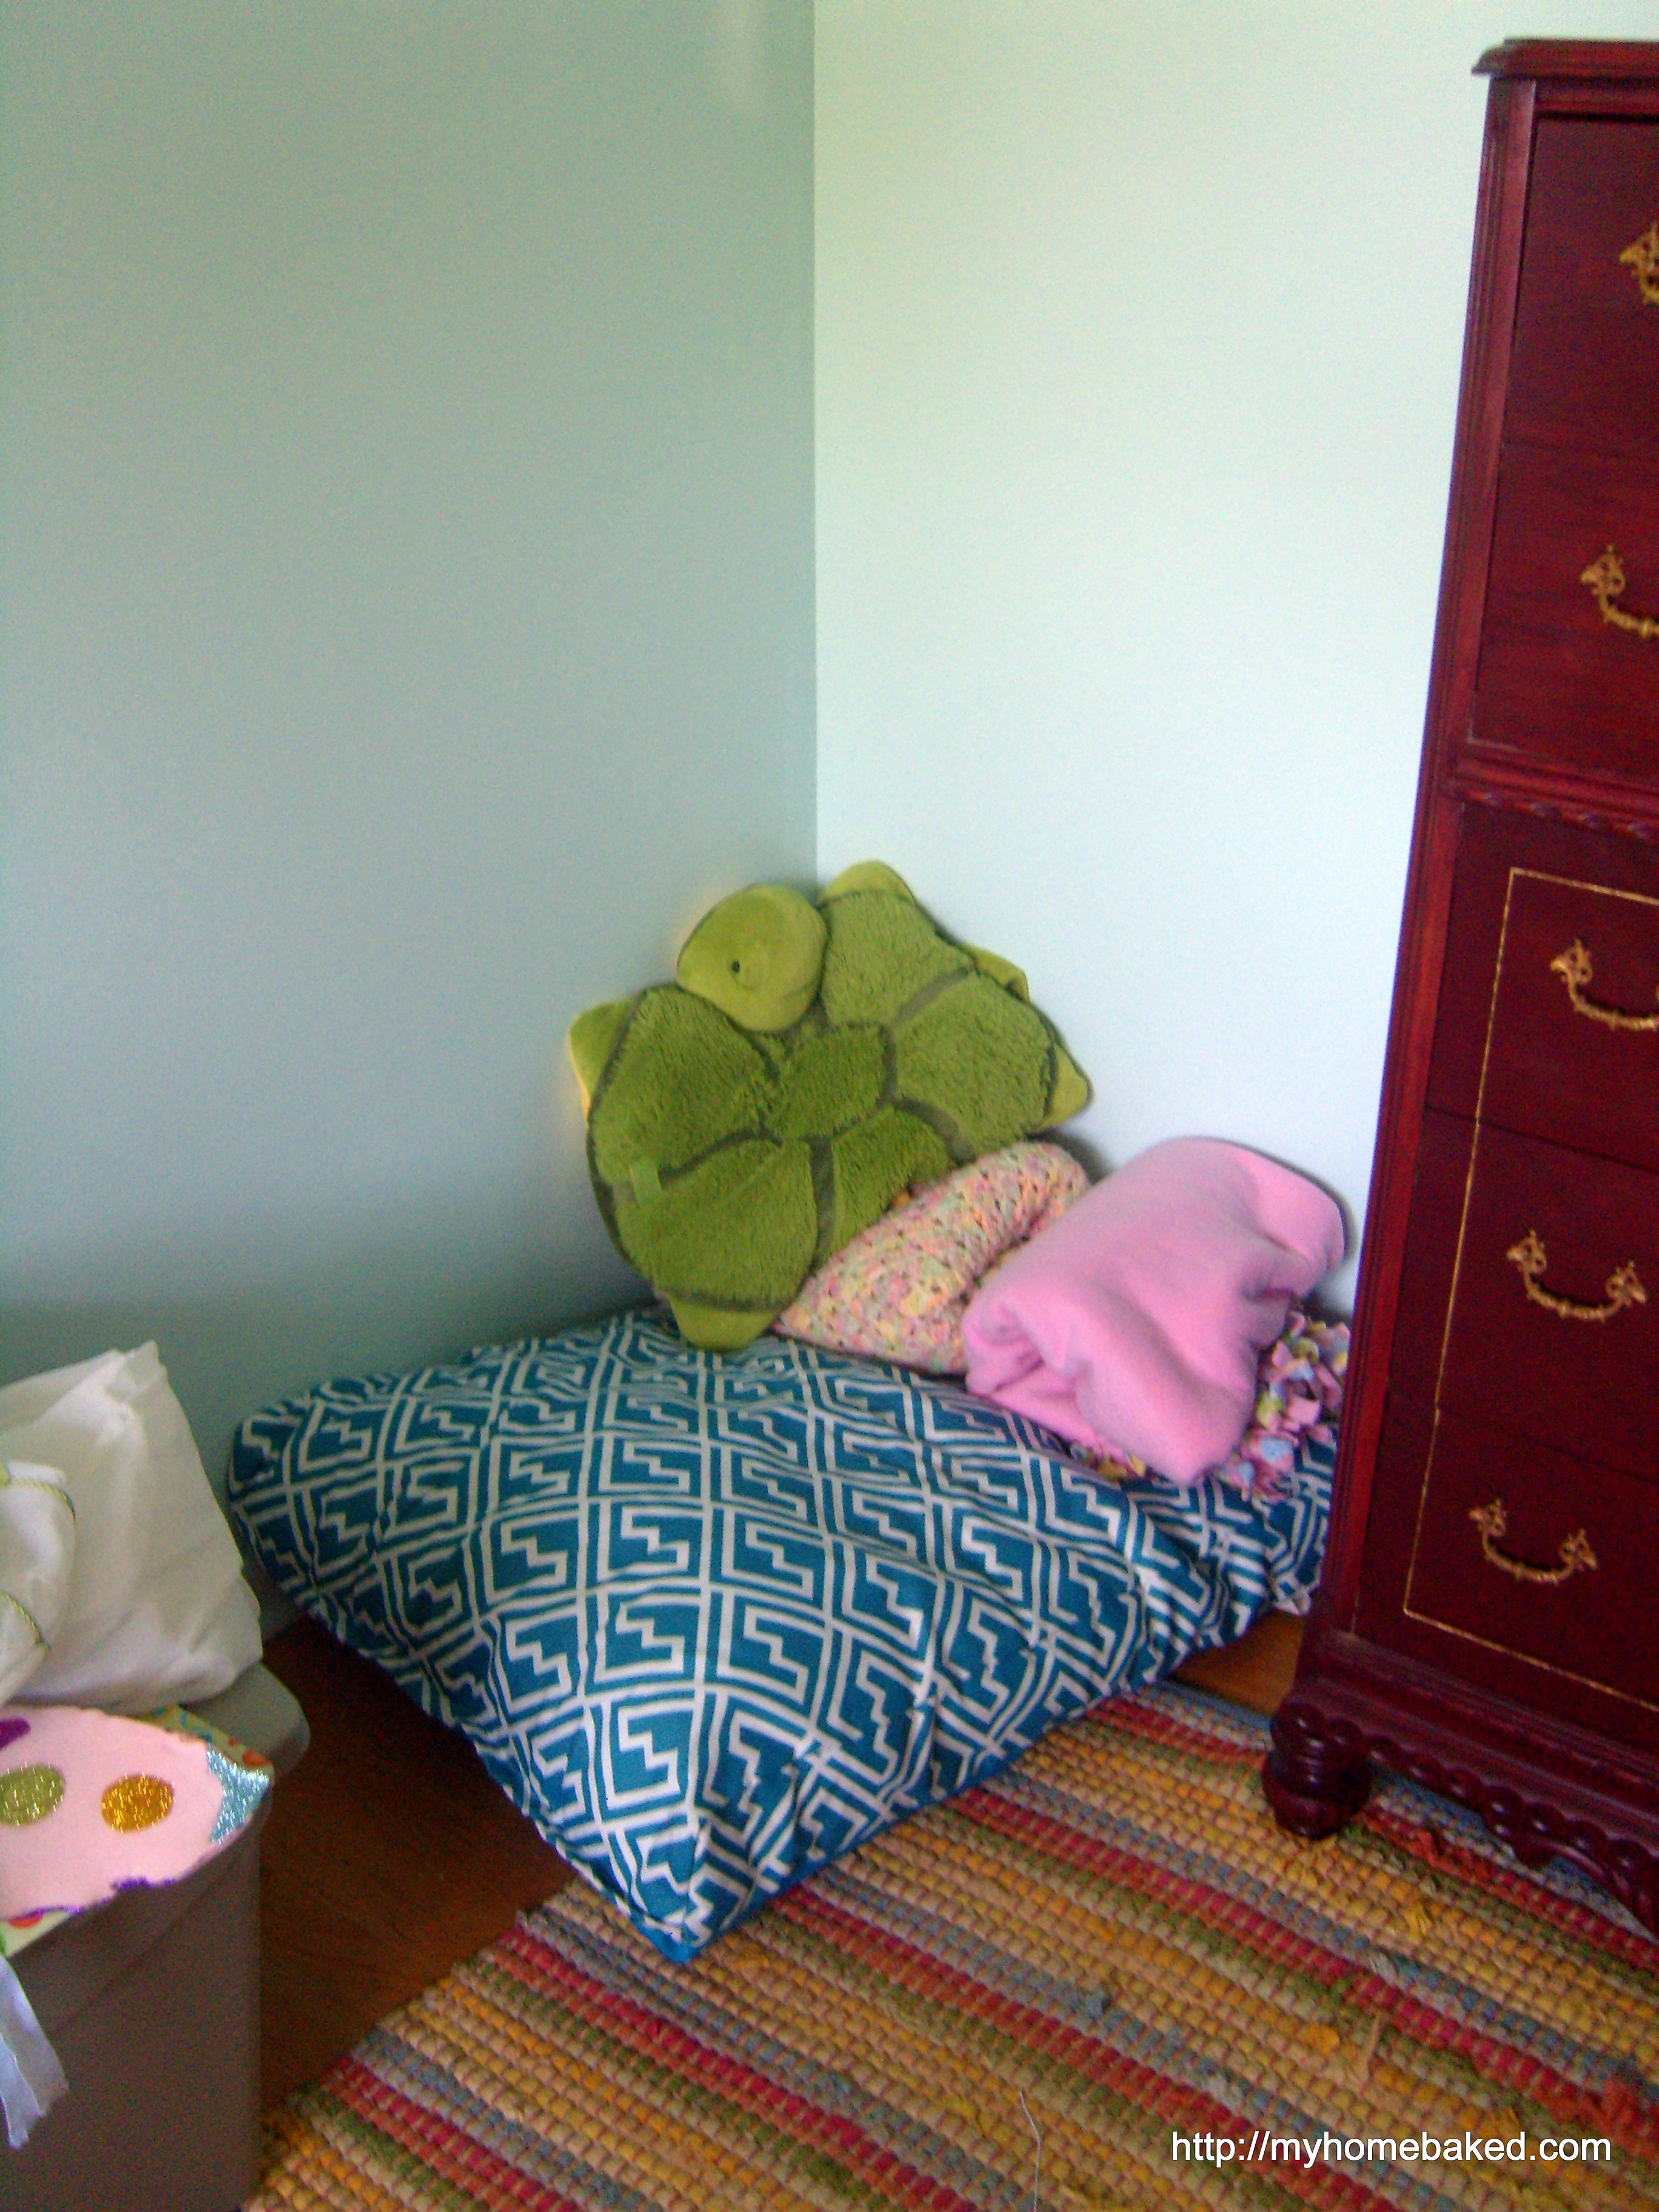
Before all this spine surgery nonsense distracted me, at the end of spring break I finally finished Miss Eight’s nightstand project. She had a wobbly three-legged decorator’s table for a nightstand, which wasn’t big enough for her lamp, alarm clock, books, and the dozens of hair accessories and tubes of lip gloss a girl needs. We decided the little Ikea RAST dresser would be the best storage for the money. It gives her a little more surface area on top, plus three drawers to hide the clutter.

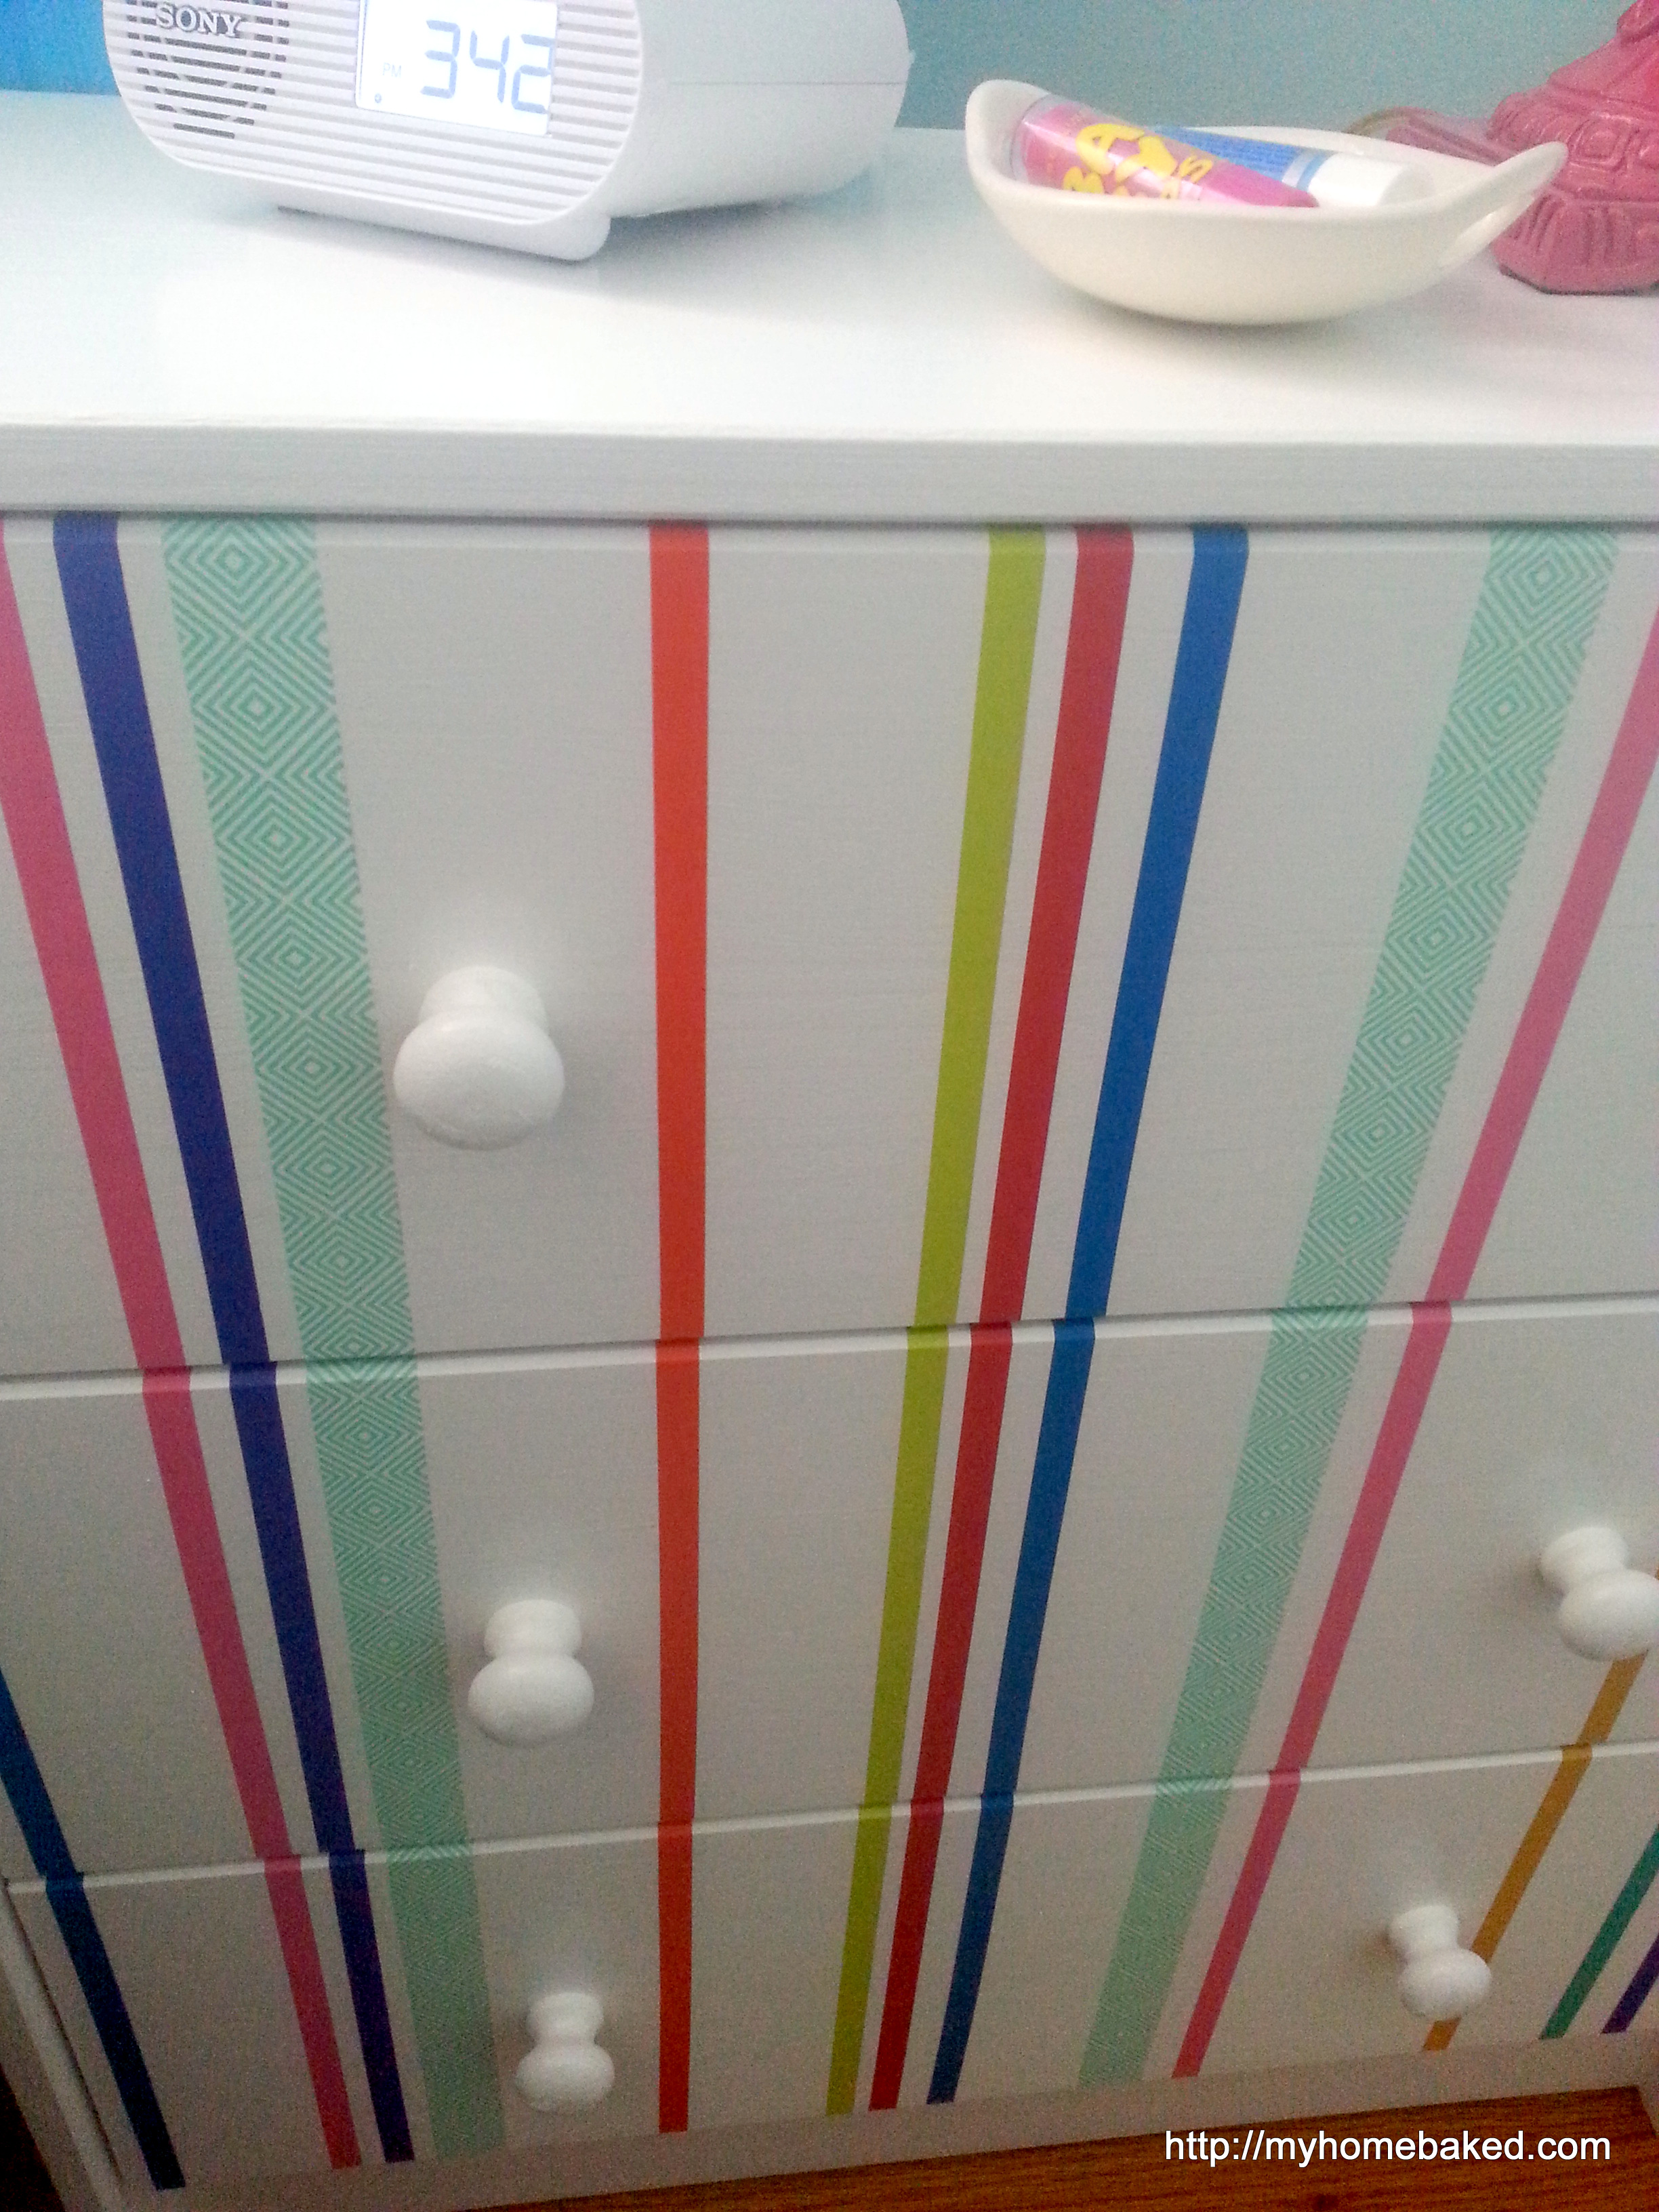
After wading through a ton of Ikea hack ideas on Pinterest, we decided that a rainbow of stripes on a white background would complement the colorful polka dots on Miss Eight’s bedding. The first coat was bright white semi-gloss paint & primer (the same can that I use on baseboards and trim), applied with a brush. Then I sprayed several thin coats of glossy white spray paint that I bought on clearance when our local hardware store went out of business. I let the paint dry and cure for a week, and then used a level and a pencil to mark where our randomly spaced washi tape stripes would go on the drawer fronts. The tape was so easy to apply–much faster than paint would have been–and should be easy to remove if we redecorate in the future. Miss Eight picked the colors as we went along, so she was pleased with the final result.

219
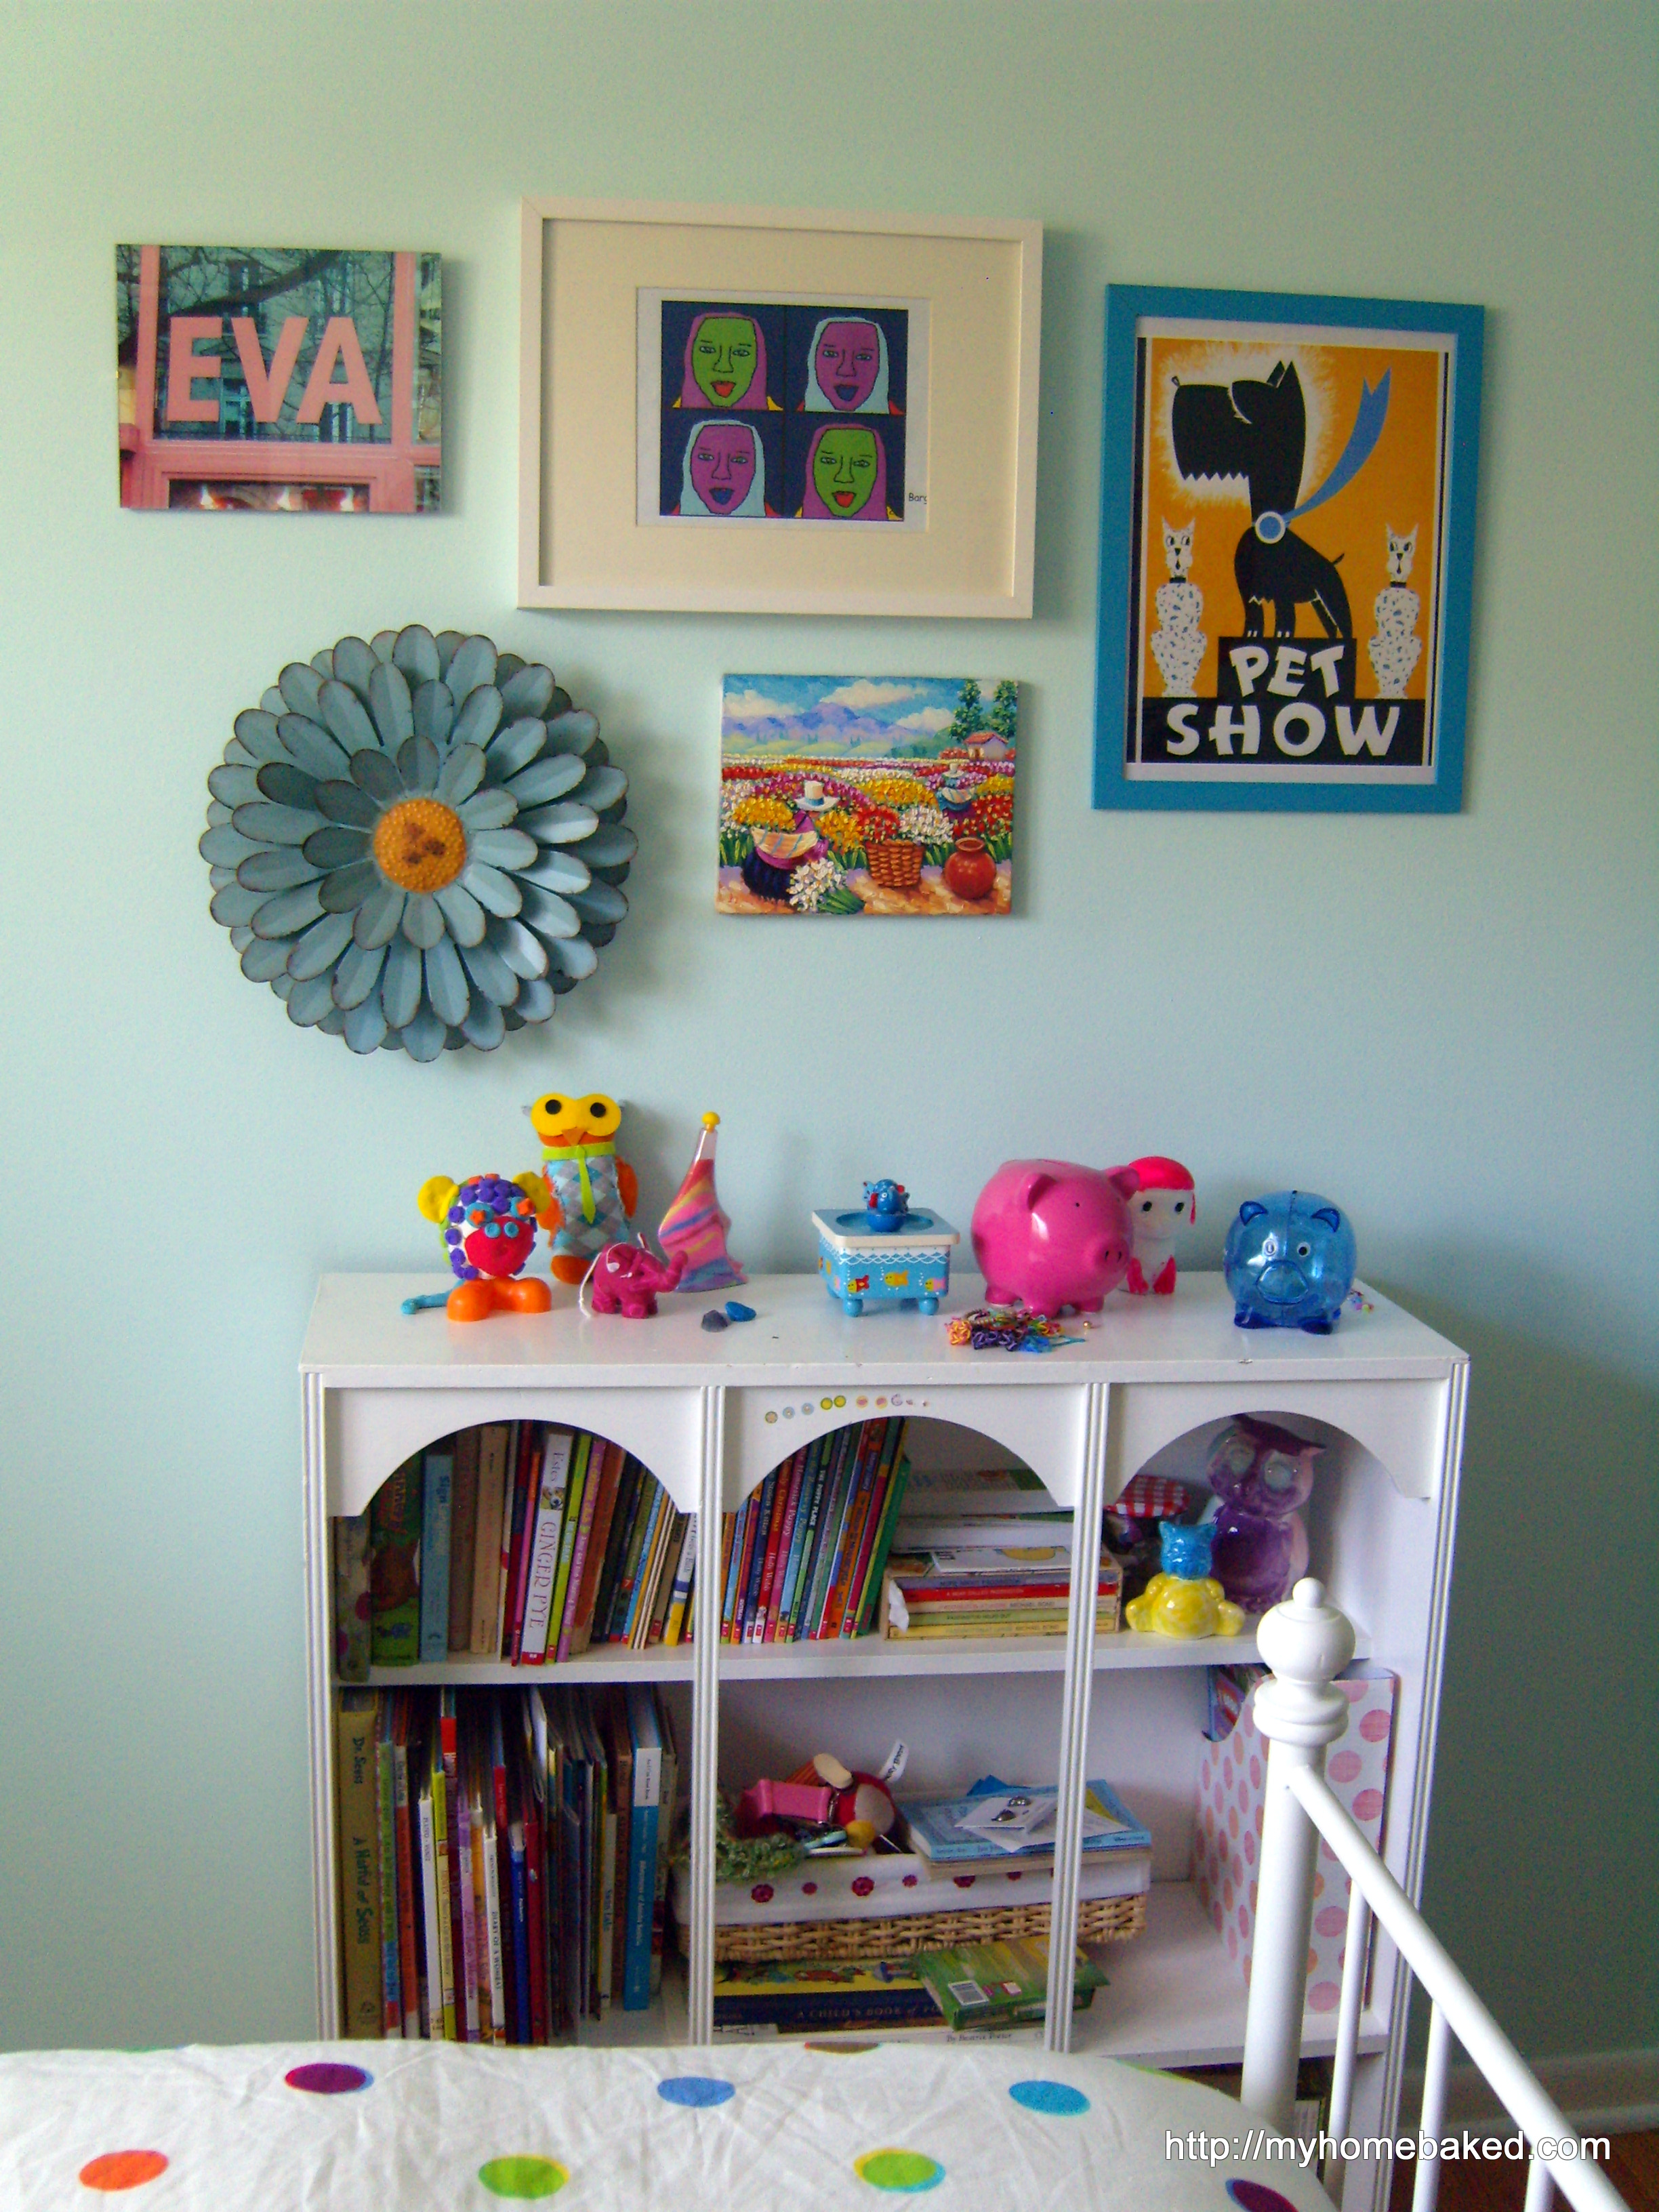
Now I have a bag of washi tape left over, and I’m eager to find other uses for it. First up will probably be to hang up all the posters and pictures that keep falling off the walls in Little Six’s room.

Advertisement

Family room

The family room might be my favorite room in the house now. I was chatting with a friend last week about how long it can take to figure out how to make your house work for your particular family, the way you live. Not only how it looks, but how it functions.

In six and half years, this is the first time this room has felt like us. It helps that we’ve moved beyond big baby and toddler toys, and we don’t need to baby proof anything. Finally getting the scale of the furniture right has made a huge difference. Our old sofa and loveseat–which we bought for the enormous basement family room in our last house–just overwhelmed this room. Our new chairs arrived and we (the grownups) each have a perfectly comfortable spot to relax, with a good view of the television and a light for reading. I wasn’t sure what to hang over the fireplace, but I dug out this old poster, and I really like the punch of yellow and the clean, graphic lines of the Matisse sketch. I’ve since hung it a little higher (I had to add some picture wire to the back) so the hardware doesn’t show.

I assembled the two new bookcases and found space for all of the board games, the overflow of books, and some baskets of toys. In the future, I might be more thoughtful about which books to keep in the family room and which in the living room, but for the moment I am just happy that there is space for all the books. And now that the games are on open shelves in plain sight, the kids have been playing them more often. (Miss Eight and I really love Set these days.) I also finally framed and hung the series of favorite director prints that I gave the Hub for Christmas 2012.

We moved the big coffee table from the middle of the room to one end. Little Six’s art projects (and accompanying mess) tend to take over the table so that we weren’t getting any other use out of it anyway. Now the table (and the occasional paint spill) is off the carpet and there is floor space to spread out a game, practice headstands, or play the Wii.

This arrangement with our big old tv isn’t permanent, but we streamlined things by putting it on a smaller stand and tucking it into the corner. Someday we’ll get a flat screen and figure out a good layout for this wall, but this television is still going strong. I tacked up the colorful woven wall hanging from Ecuador to relieve some of the blank white space.

The little armchair adds just enough seating for the whole family to watch a movie together. It’s light enough to swing around and face the tv when we need it. I also sewed up this floor pouf from three little cotton rugs to act as a footstool or extra seating. I loosely followed these directions (minus the zipper–I just hand stitched the opening). My pouf is stuffed with rags and a few pieces of foam. I might raid the rag bag and fill it just a little bit more. Hmmm…I probably should have ironed out the creases before sewing.

We’re still on the hunt for a couple of new side tables so that every chair has a spot for a cup of tea and a lamp. In the meantime, I’m happy that there is finally space for the whole family in our family room.

How have your rooms evolved? What changes have made the most difference in how you use and enjoy the space?

Family room gallery wall

After looking at this blank wall for a couple of weeks, I finally got out my hammer and hung some art.

Based on that photo, the white paint seemed like a dubious choice. But as soon as I hung the first frame, I was relieved. The white paint is the perfect backdrop for this rainbow collection that my three artists have created at school and at home. Before I consolidated them here, some of the paintings were hung in other parts of the house, and some were languishing in the basement file cabinet.

We spend so much time in the family room, and it’s finally beginning to be a room that feels homey to me.

If you’re curious about how much effort it takes to hang so many pictures, I can promise it didn’t take me more than a couple of hours (that includes time I took to frame some pieces). I used this Apartment Therapy post as a loose guideline, and laid all the frames out on the floor until I had an arrangement I liked. I also measured the wall to make sure everything would fit. I did shuffle a few pieces from my original layout as I went along, but I pretty much started at the left and worked my way across the wall, just eyeballing the spacing between frames. My handy Hang & Level allowed me to speed through the nailing and hanging.


Now I need to find something to hang in those empty spots in the foyer and powder room where I stole paintings to put in my gallery wall!

Fast forward

Maybe it has something to do with the shorter days and longer nights, but it feels as if each day is scrolling by in fast forward, each frame only on the screen for a fraction of a second.

palette cake

And so for the past few weeks, there hasn’t been room in the day for blogging. Holiday preparations, celebrations, birthdays, school and work have more than filled our days. We made another big step in our family room makeover. The Hub and I shuffled the furniture around (my arms still ache–those sofas are heavy!) and I took most of two days to paint the walls and trim. On Little Six’s birthday, we picked out a Christmas tree and did a little decorating.

DIY Tip: How to Hang Stockings Above a Fireplace Without a Mantel

Thread clear picture wire or fishing line from eye hooks mounted on either side of the chimney breast. Stretch the wire tightly and hang the stockings with S-hooks or wire ornament hooks.

The paint felt so very…white as I rolled it on the walls, but I’m happy with the decision. Everything feels bigger and cleaner. Sometime after Christmas we hope to replace the orange oak shelving with taller, wider white bookcases and put a pair of slim but comfortable chairs in front of the fireplace. I plan to stain the coffee table a darker color (and give Mr. Six a big piece of oilcloth to protect the table while he’s creating).

I’m looking forward to filling this blank wall above the sofa with a gallery of the kids’ artwork. I have old frames to fill and a few new ones from Goodwill. I may steal some from other parts of the house and consolidate it here. We’re hosting a Christmas party in a couple of weeks, which gives me a deadline for the project.

You may have noticed that I abandoned my Monday Menu posts for the past few weeks. I’m getting bored writing them, and I suspect you may be bored reading them. I’m still meal planning, but I’ve been visiting my blog archives and stealing meal ideas from past years. Sharing my menu each week has been a wonderful way to develop the habit of meal planning, but I’m going to take a break from writing about it, at least for a while.

I do hope to share a recipe and project or two with you before the year’s end. In the meantime, I have some more decorations to put up. It’s sunny and a balmy 17 degrees, so this may be my chance to hang that string of snowflake lights on the porch.

Family room update: Painting the fireplace brick

Well. This week got away from me. But I’m thrilled that I finally jumped in and painted the family room fireplace brick. Sometimes just jumping in, ready or not, is the best way to get a project moving. With the fireplace painted, the walls look even worse, so I’m eager to paint them. And then rearrange the furniture. And then hang a new mantel shelf. And then…well, you get the idea.

Here’s the deal with the fireplace. It was a red brick that we never liked, but did our best to work with for the past six years. What I really hated was the set of three dinky concrete shelves that angled up the chimney breast, preventing me from hanging anything large above the fireplace.

Enter my dad and his new tool, the angle grinder. In 20 minutes he had all three of those silly shelves cut off, and then he added a little texture to the remaining concrete to make it blend in with the brick. When the dust settled, I had a blank canvas to work with.

I scrubbed the brick with a brush and a solution of TSP, and then painted it with Benjamin Moore ben premium semi-gloss paint & primer. I used an angled brush for the mortar lines, and a cheap wide brush for the brick. The first coat looked pretty good, but I gave it a quick second coat and am calling it done. There is a little bleed-through of the soot stains around the edge of the firebox, but those will be covered up by the fireplace doors when I reinstall them.

Speaking of those fireplace doors….When I took them down to paint, I discovered that the insulation around the edge was black, dust-filled, and beginning to disintegrate. Before I replace the doors, I plan to buy new insulation strips, clean the glass, and probably spray paint the dated brass finish with heat-resistant black spray paint.

At the moment, the white fireplace doesn’t fit in with the rest of the room. Maybe you’re thinking it’s even worse than the brick! I agree, it does NOT look good with the Hawthorne Yellow walls (possibly because they are so dirty at this point) and all that orangey-oak furniture. I’m 99% ready to paint the walls Swiss Coffee by Behr (a slightly warmer shade of white). As you can see from my Family Room Pinterest board, I’m trying to create a light, neutral canvas to set off the colorful stuff we already own: a wall of bright children’s artwork, shelves of books and games, and fun pillows and our existing red rug. Since buying a bunch of new furniture isn’t happening, we plan to swap the living room and family room furniture (navy moves to the living room, tan and white to the family room). I’m pondering new (but always inexpensive!) bookshelf plans for either side of the fireplace. Ikea? Craigslist?

Next dilemma: What kind of mantel shelf? Wood finish or painted? Traditional or rustic?

Kids’ rooms progress report

School starts in less than two weeks (cue the singing angels), and my summer goal was to have the kids’ room makeovers mostly completed. The big jobs should be finished in that time, and the smaller jobs easier to complete while my “helpers” are busy at school.

Over the weekend I painted Mr. Ten’s room. I bought Behr Paint and Primer All-in-One from Home Depot for two reasons: I prefer low-VOC paint, especially in a bedroom, and I hoped to avoid using more than two coats to cover the bright green walls. The coverage was wonderful, and I only needed one gallon to give the room two coats.

We are all pleased with new color. I even touched up the baseboards, which had suffered during my earlier paint jobs. Painting over the vinyl rocket and stars decal worked as I had hoped. As soon as the second coat was dry to the touch, I peeled off the vinyl and was left with a clean stenciled outline. The room feels calmer without two bright colors fighting for attention.

Next on the list: assemble the tall Billy bookcase (which will provide more space to consolidate books and collections in one place) and upholster a headboard.

I also scored Miss Eight’s new bed for half price. Hello, random Happy Hour sale in the Ikea As-Is department! I bought an assembled floor model of the Leirvik bed for $43. Often the floor models show some wear and tear, but this one (probably because it’s metal, not wood) didn’t have a scratch. They put it on a flat-bed cart, handed me a wrench, and helped me wheel it out to an area where the kids and I disassembled the bed so we could fit it into the car.

I also hung some artwork, but still have a couple more things to hang: the cork board and a mirror and shelf that we’re going to turn into a little vanity area.

I’m pretty sure there were other things on my summer to-do list, but I’m choosing to ignore them. Any progress is cause for celebration!

Beginning on the Boy’s Room: Before Pictures

I know I haven’t quite finished Miss Eight’s room–still on the hunt for a nightstand and haven’t bought the bed yet–but I did hang artwork and buy a big cork board to corral her artwork, birthday cards, and pictures of cute puppies. I also hung the canopy over her floor cushions and now she has a cushy little hiding place. She’s been spending more time in there, and unfortunately, so have her brothers. It’s a nice room. So it’s time to spruce up their spaces and leave her to a room of her own.

With 25 days left until school starts, Mr. Ten is anxious to have his room made over, and has been more helpful than ever before in the decluttering phase. These photos are after we removed everything from the walls, decluttered all the surfaces (dresser, nightstand, desk) and the closet, and packed away the Lego Harry Potter display for safekeeping. When you’re 10 you can finally let go of the bins of kindergarten-4th grade memorabilia (all that kindergarten stuff is so embarrassing), but you still keep a small box of stuffed animals on the top shelf of the closet.

Now you can see the fabulously frugal green and blue paint job that I did five years ago with leftover paint from previous projects. The new color we’ve chosen (I brought home a pre-approved selection of paint samples and Mr. Ten chose his favorite) is a blue/gray called Ozone by Behr. I hope it will be a more sophisticated and neutral backdrop to all of the colorful contents of the room. (Anything is better than that green. SO over the green. It was supposed to be an accent color, but it has spread all over the room like algae.) We’re keeping the chalkboard and I’m going to attempt to paint over the vinyl rocket and star decals, and then peel them off like a stencil. Mr. Ten is attached to the rocket, as it represents his dream of one day going to Mars.

Our list includes:

  • Paint
  • Replace the small bookshelf with a tall Billy bookcase and reconfigure the Lego storage
  • Hang artwork (a pared down and more grown up selection)
  • Add hooks to back of door and inside closet for storage
  • Change the sagging curtain rod
  • DIY an upholstered headboard and box spring

Other than a bigger bookcase, we’re not adding any furniture. A year or so ago, I got the dresser and nightstand from Freecycle. I painted, decoupaged and added new hardware to the dresser, which was sturdy but a horrible orange color. I added a darker coat of stain to the nightstand and painted the drawer fronts white. I’m still sad that I passed on the matching dresser, but we didn’t have room in the van (we’d have had to leave a couple of kids on the side of the road).

The bins next to the desk house art supplies and a variety of collections. I’d like to encourage paring those down, too, but it may take a while. I only just convinced him to part with a piñata leg saved from a friend’s birthday party three years ago. Can you really put a price on such a treasure?

To be honest, my only goal before school starts is to get the room painted. The rest should be easier to knock out in a few days while the kids are in school.

As for Little Five’s room, I have no intention of repainting it anytime soon. I do plan to reorganize a little, though–switch around some toys, maybe move a little table in for him to use as a desk, and give him someplace to display his artwork and Lego posters.

Girl’s Room Progress: Almost there!

One of my goals this summer was to get the big kids’ rooms painted, reorganized and (moderately) redecorated. The pace is slow, but in the past two weeks I’ve made good progress on Miss Seven’s room. Thanks to a loose kid exchange arrangement I have with some friends, I took advantage of a few hours while all the kids were out bowling to start painting. (Just going to Home Depot all by myself to buy the paint was a huge bonus.)

Two days and two coats of paint later, we went from Calamine pink to Spa blue. I removed the broken roller shades and faded curtains and replaced them with some blackout curtains in a turquoise that I wasn’t sure I’d like, but Miss Seven picked them out at Target. We added some sheers for softness, and it turns out I like them fine.

I spray painted an old lamp and lampshade (inspired by this lamp from Land of Nod) with the rest of the can of paint I used on her desk chair a few years ago.

A trip to Ikea netted some organizers for over the desk and new bedding. The hanging rails for her art supplies are really working well. They keep everything organized, visible and in reach, but off the surface of the desk, so she has space to work. The desk has plenty of drawers, but expecting a six or seven-year-old to actually put things away in the drawers is apparently too much. I added a couple of magazine files for her to store paper–one for blank paper, one for works finished or in progress. She’s kept her desk clean all week! I’m certain that’s a record. She still needs a decent desk lamp. That little flower lamp isn’t much more than a night light.

Still to be completed:

A new bed frame and night stand. We had an old headboard propped up behind her bed, and I had rigged a slipcover for it out of a cheap quilted comforter. Honestly, the comforter looked as cheap as it was. I’ve been scouring Craigslist for other options, but we’ve settled on this bed from Ikea. Miss Seven really likes it, and it costs less than most second-hand beds. A freestanding bed frame will allow us to pull the bed away from the window a few inches, but still give her something to lean against when reading in bed.

Her current night stand is one of those little wobbly decorator tables. I’m on the hunt for something sturdier with some more surface area and a little storage.

I need to hang her little canopy above this cushiony corner that will serve as a reading nook and hideout. I priced beanbags and looked at cushion sewing tutorials, but settled on a dog bed–it’s just a big floor pillow–in a cute fabric on clearance at Home Goods. We don’t have a dog, but the cat seems to like it.

Finally, I need to hang up all her artwork, a big pinboard, and shelves to display her treasures. That bin next to the bookshelf is full of all the stuff waiting to go back on the walls. Maybe this weekend…

If you’re interested, here’s the link to my inspiration board on Pinterest. I was most inspired by this room designed by Emily Henderson. It’s not a slavish copy, but the color palette is pretty close and there’s a similar mix of textures and eclectic furniture. I’m sure Miss Seven doesn’t care where the inspiration came from, but I love nearly all of Emily’s rooms and it has been fun to try to recreate this room from her example.

Do you ever try to copy a designer room in your own home?

Linking up to Emily A. Clark’s Kids’ Spaces Link Up! Check out all the links to some really fun kids’ rooms!

Closet door to computer desk

It’s taken a couple months, but I finally completed another project on my list.

We had our desktop computer, the one the kids use the most, in a small computer armoire in the living room. I had come to loathe it. The doors didn’t latch properly anymore, the keyboard tray glides had lost all their ball bearings, dust and trash collected behind the monitor, and the extra storage cubbies just stored things that we forgot about and obviously didn’t need (old holiday cards, obsolete computer software, empty printer cartridges…). And if someone actually needed to do some work at the computer (it does happen once in a while), there was no desk surface on which to spread books and materials.

I wanted a new desk, very simple, with no drawers or cubbies that could collect junk. Being me, I didn’t want to spend much money. Also, I have a garage full of old hollow core closet doors just waiting for a project.

I did buy some trestle legs from Ikea, but that was my only investment. I chose one of the narrower doors in my stash and used some Citri-Strip gel to remove the paint from the side edges. Then I used my jigsaw to cut the door to the length that would fit between the wall and the window in the living room corner. I had to use a little wood filler where the veneer started to chip off.

I sanded the whole thing and applied two coats of Minwax Wood Finish in Ebony. When it was dry, I coated the door in paste wax and buffed it until it was shiny.

But remember–this was a hollow core door, so when I shortened it, I lost the finished edge on one end. The other end wasn’t looking too great, either. I scrounged up a couple of 1″ x 2″ pieces of primed MDF in the garage left from some other project and spray painted them with some oil-rubbed bronze. I was just lucky that the color matched the stain really well. I nailed the pieces as best I could to the ends of the door, and that was that.

This is no polished piece of carpentry.

But you know what? I don’t mind. From a distance, it looks nice. “Like it came from West Elm!” cheered the Hub. (You can see why I keep him around.) A box to store the kids’ headphones (essential so that I don’t have to listen to Minecraft sound effects, episodes of iCarly, or Curious George games) and a pencil cup is all the storage we need. I was going to hang a small memo board to post computer-related reminders (user names and URLs), but I might just keep a little notebook in the box instead.

The one problem I haven’t solved is cord wrangling. I suppose I could do a better job of tidying up the extra lengths of cable and power cords. I’ve seen a few people hide the power strip and modem in a decorative box, but somehow that seems like a fire hazard to me.

I’ve already noticed that it’s easier for two kids to pull up chairs and play together. (Mr. Ten has been giving Miss Seven lessons in Minecraft.) It’s been three days, and the area has stayed nice and tidy. I even found a spot to hang my map plates that wouldn’t fit in the dining room. And if the new desktop doesn’t withstand the abuse it’s sure to suffer, at least I didn’t spend any money on it.

What would you make with old door?

Kids’ bathroom progress part 2…almost done!

So, so close.

Since last week, I finished painting the gray walls, installed two shelves on the wall over the toilet, hung the beadboard wallpaper, scraped and sanded the old caulk off the baseboards and reinstalled the shoe moulding, caulked, and painted the beadboard wallpaper. It’s obviously not a big room, so it took 15 minutes here, an hour there. Still to do: paint the baseboards and perhaps give the beadboard a second coat, and finish hanging artwork. I was on a roll and probably would have finished yesterday, but I ran out of paint. But if you don’t look at the baseboards, it looks good!

For fun, here’s the evolution of this bathroom over the past 6 years:

Before

Before

This is how it looked before we moved in. Certainly not terrible, but the details became annoying after we lived with it for a while. Wallpaper, shower doors (have you tried bathing a squirmy baby when you can only reach half the bathtub?), two-toned hardware. And a toilet paper holder waaaay too far for a kid to reach when he needs it!

First attempt

First attempt

After the first major set of changes to make this bathroom more functional for three small children: removed the shower doors, installed hook rail for towels, painted the vanity and changed the hardware, moved the toilet paper holder, stripped the wallpaper, changed the light fixture. At this point I wasn’t really sure where the color scheme was going.

After

After

Now, the gray and white is a cool backdrop for the kids’ bright towels and accessories. There aren’t any heavy glass shower doors to clean or worry about safety (one fell off the track once–very scary!), and there are plenty of hooks to hang towels, robes, and wet bathing suits. The colors feel more like us, and the room functions much better.

How much did I spend on this final stage?

  • Ikea shelves: $30
  • Ikea towels: $22
  • beadboard wallpaper: $19
  • wallpaper paste: $5
  • 1 quart Heather Gray paint: $2

The rest of my supplies I already had…caulk, white semi-gloss paint, etc. I got my wallpapering tools from Freecycle! Even though I need to buy more paint to finish the baseboards, I have lots of other trim in the house that needs a fresh coat.

I’m very pleased with the beadboard wallpaper. For a novice like me, it wasn’t difficult to hang. As I hoped, caulk and paint disguised my sloppy edges and less-than-precise measuring. It only took about an hour to measure, paste and paper that half wall.

Ikea towels come with loops for hanging!

Until I get around to buying that paint, I’ll focus on hanging the rest of the artwork. Miss Seven will be pleased when I get the stack of frames out of her room and onto the wall.

Bubble prints made at the school art fair