Kids’ rooms progress report

School starts in less than two weeks (cue the singing angels), and my summer goal was to have the kids’ room makeovers mostly completed. The big jobs should be finished in that time, and the smaller jobs easier to complete while my “helpers” are busy at school.

Over the weekend I painted Mr. Ten’s room. I bought Behr Paint and Primer All-in-One from Home Depot for two reasons: I prefer low-VOC paint, especially in a bedroom, and I hoped to avoid using more than two coats to cover the bright green walls. The coverage was wonderful, and I only needed one gallon to give the room two coats.

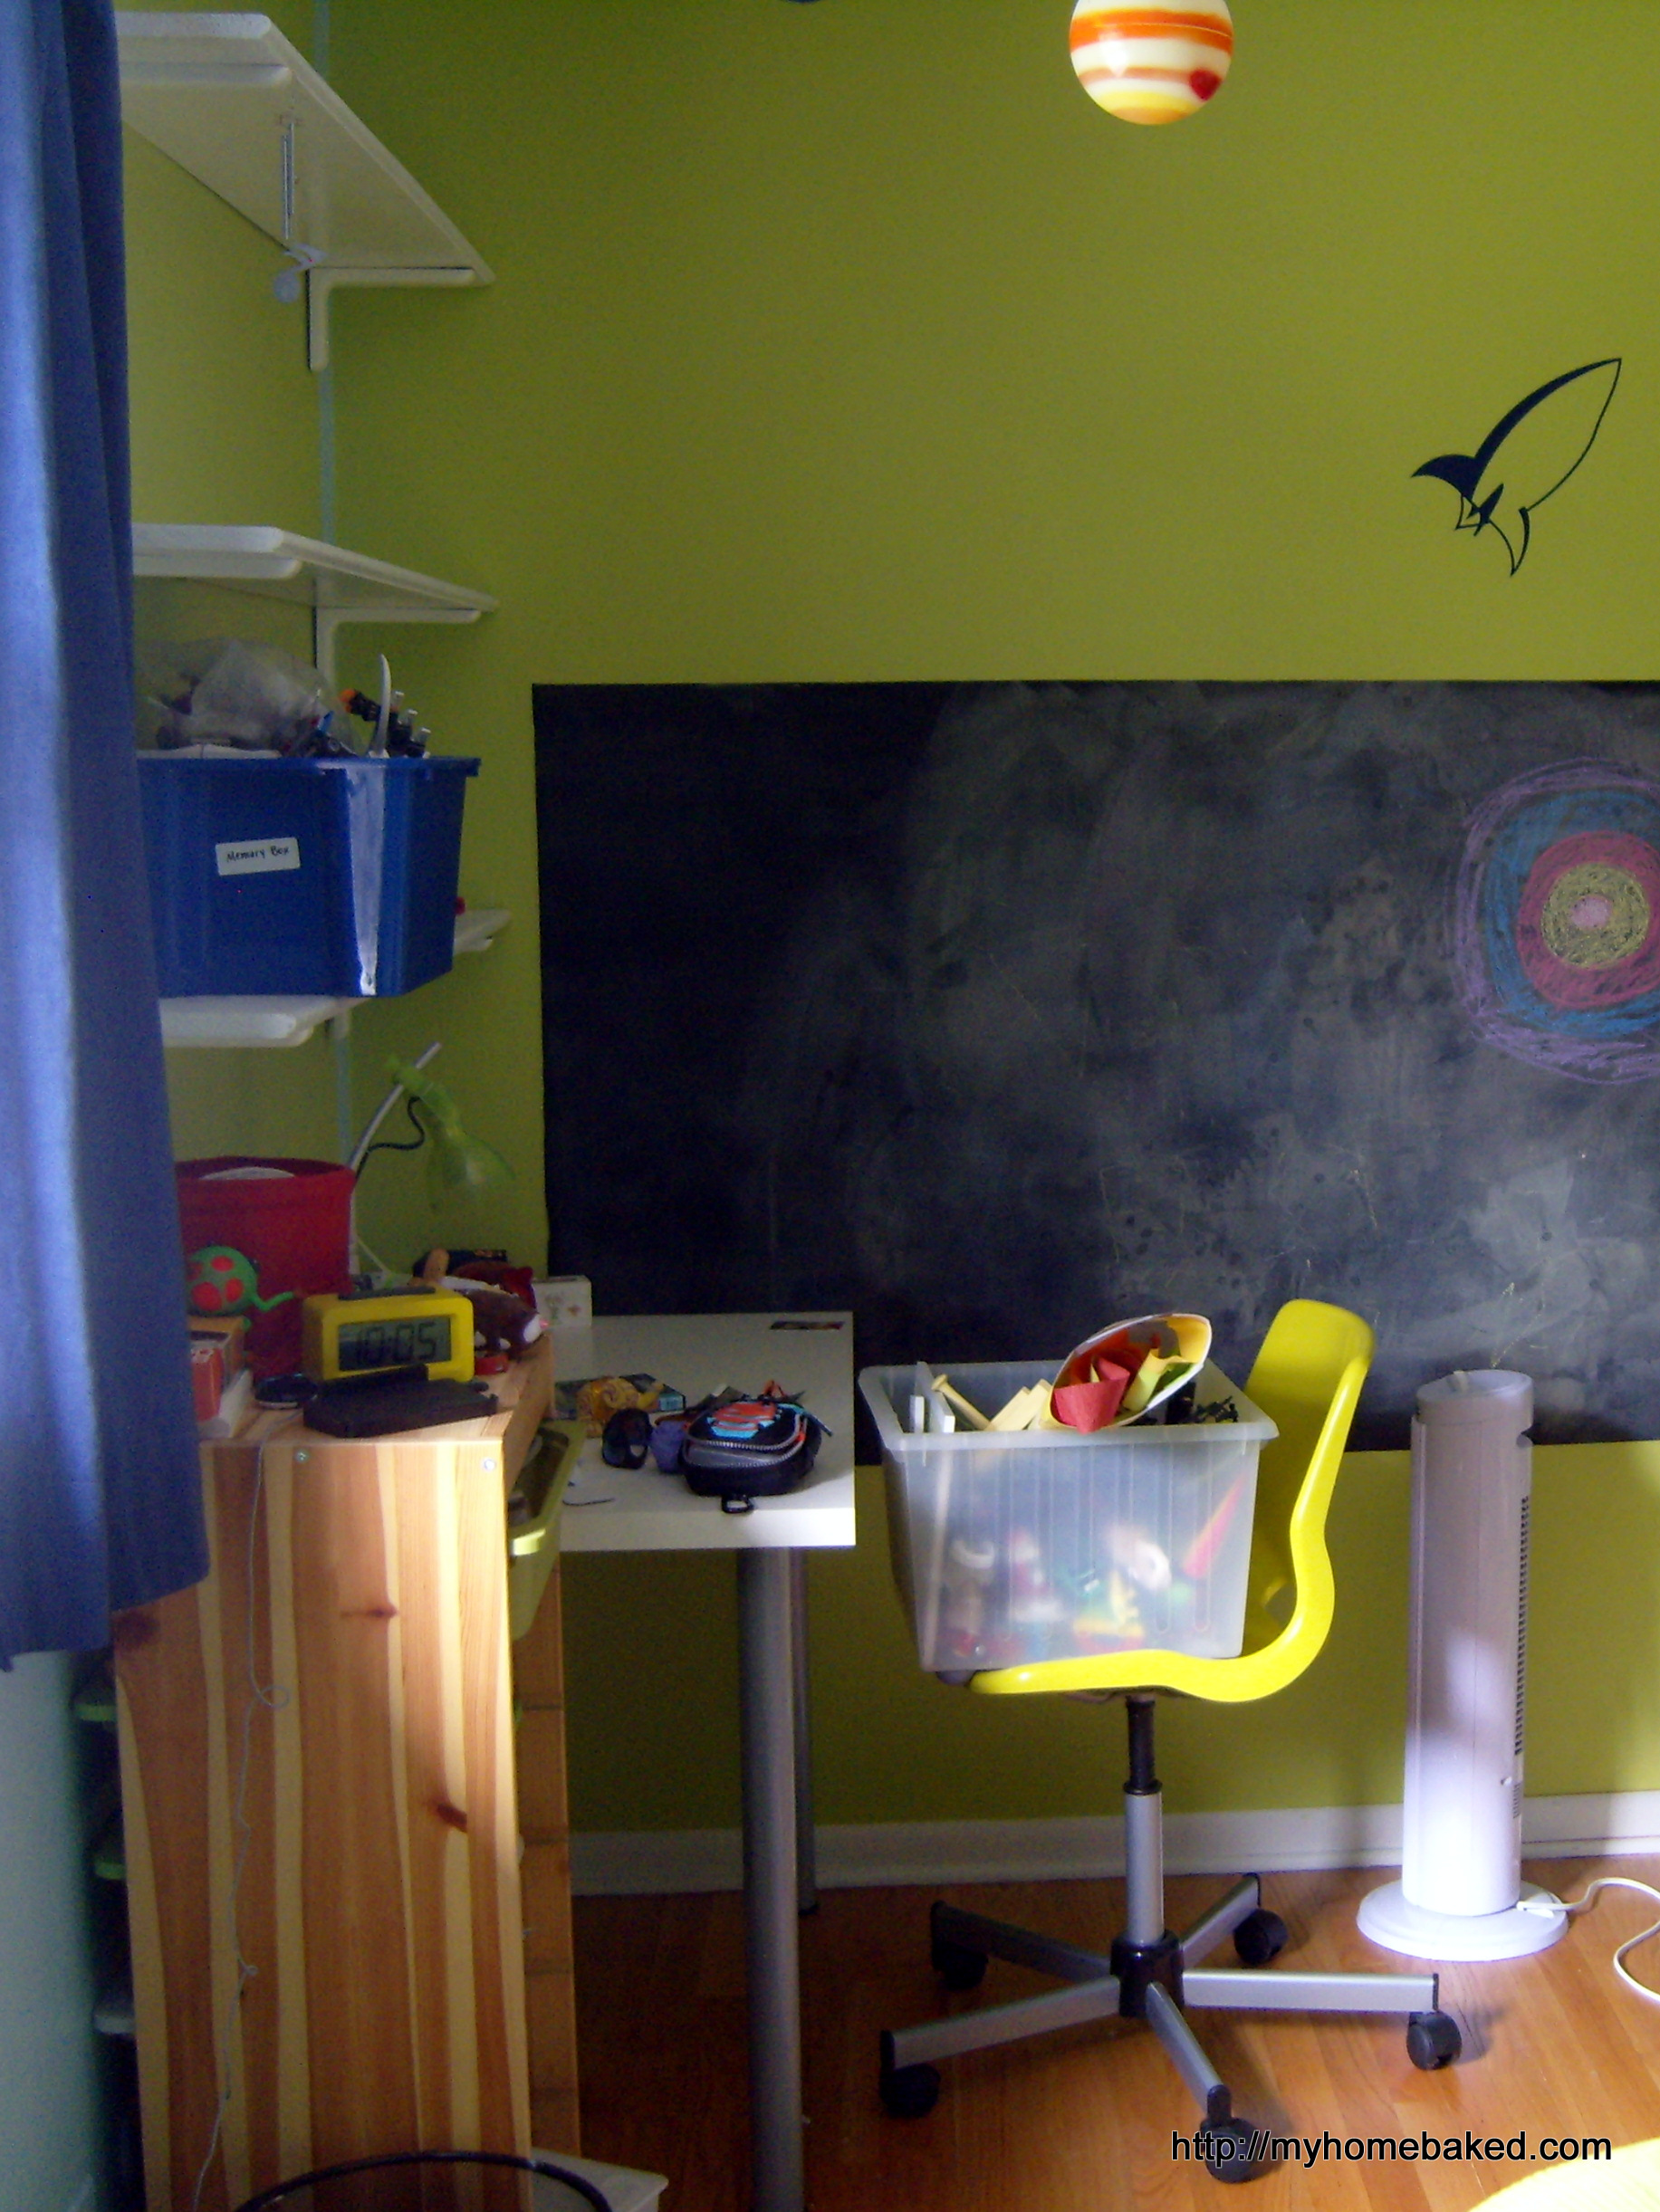
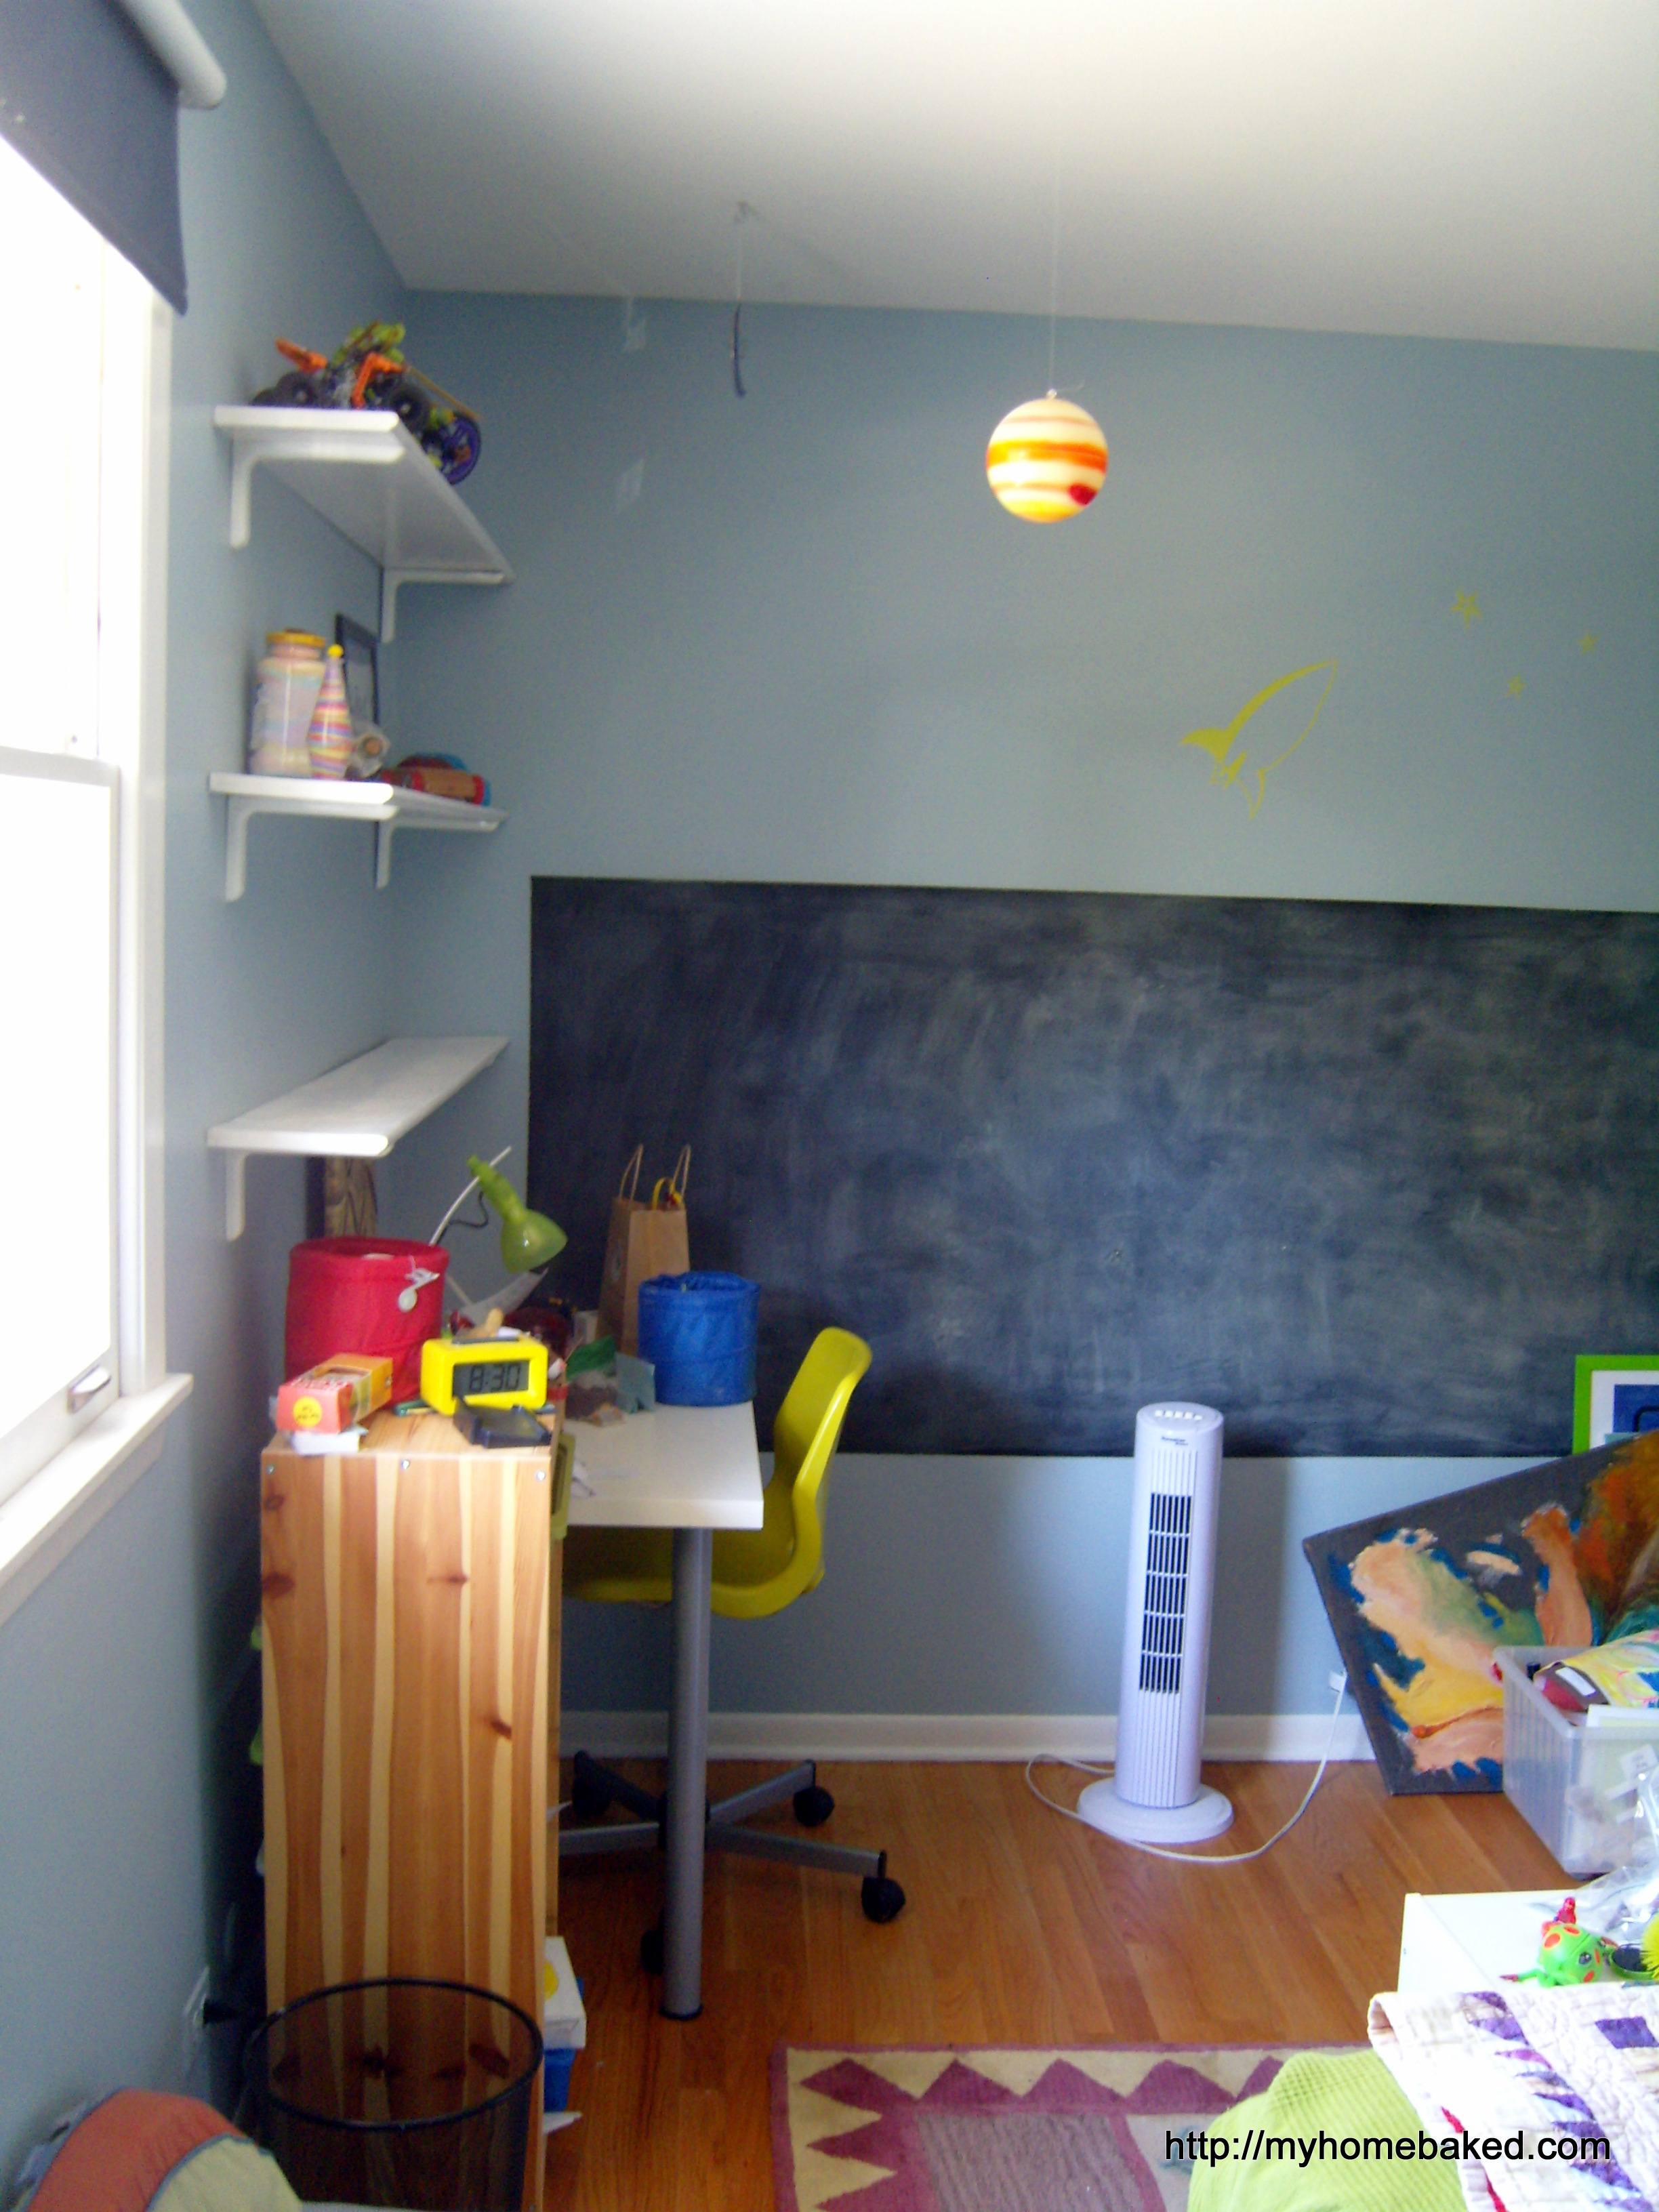
We are all pleased with new color. I even touched up the baseboards, which had suffered during my earlier paint jobs. Painting over the vinyl rocket and stars decal worked as I had hoped. As soon as the second coat was dry to the touch, I peeled off the vinyl and was left with a clean stenciled outline. The room feels calmer without two bright colors fighting for attention.

Next on the list: assemble the tall Billy bookcase (which will provide more space to consolidate books and collections in one place) and upholster a headboard.

I also scored Miss Eight’s new bed for half price. Hello, random Happy Hour sale in the Ikea As-Is department! I bought an assembled floor model of the Leirvik bed for $43. Often the floor models show some wear and tear, but this one (probably because it’s metal, not wood) didn’t have a scratch. They put it on a flat-bed cart, handed me a wrench, and helped me wheel it out to an area where the kids and I disassembled the bed so we could fit it into the car.

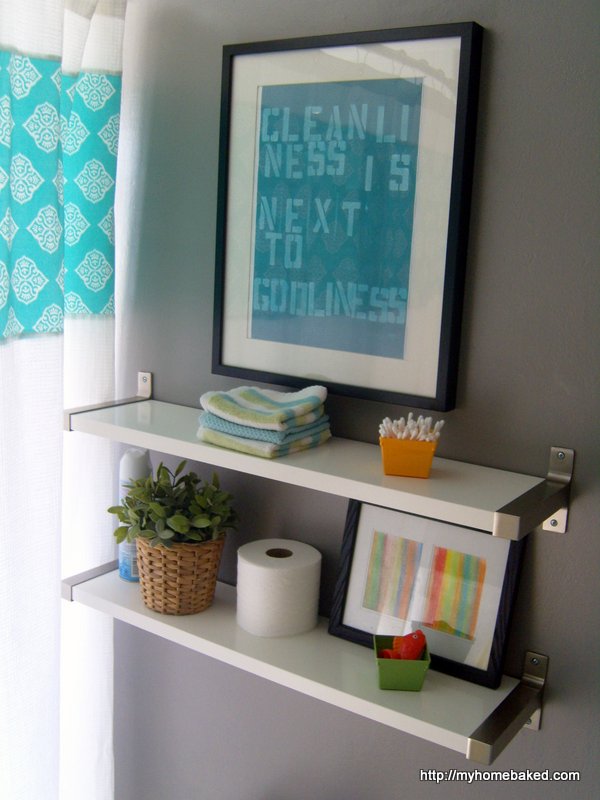
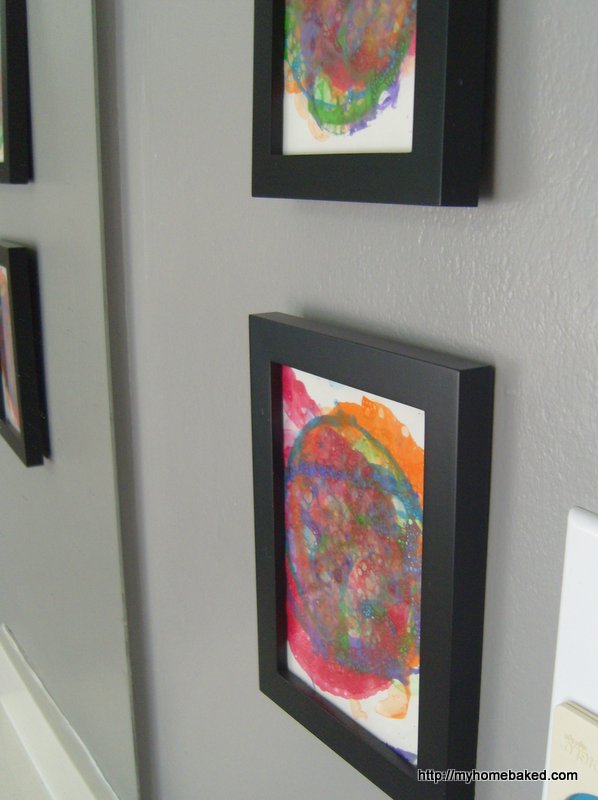
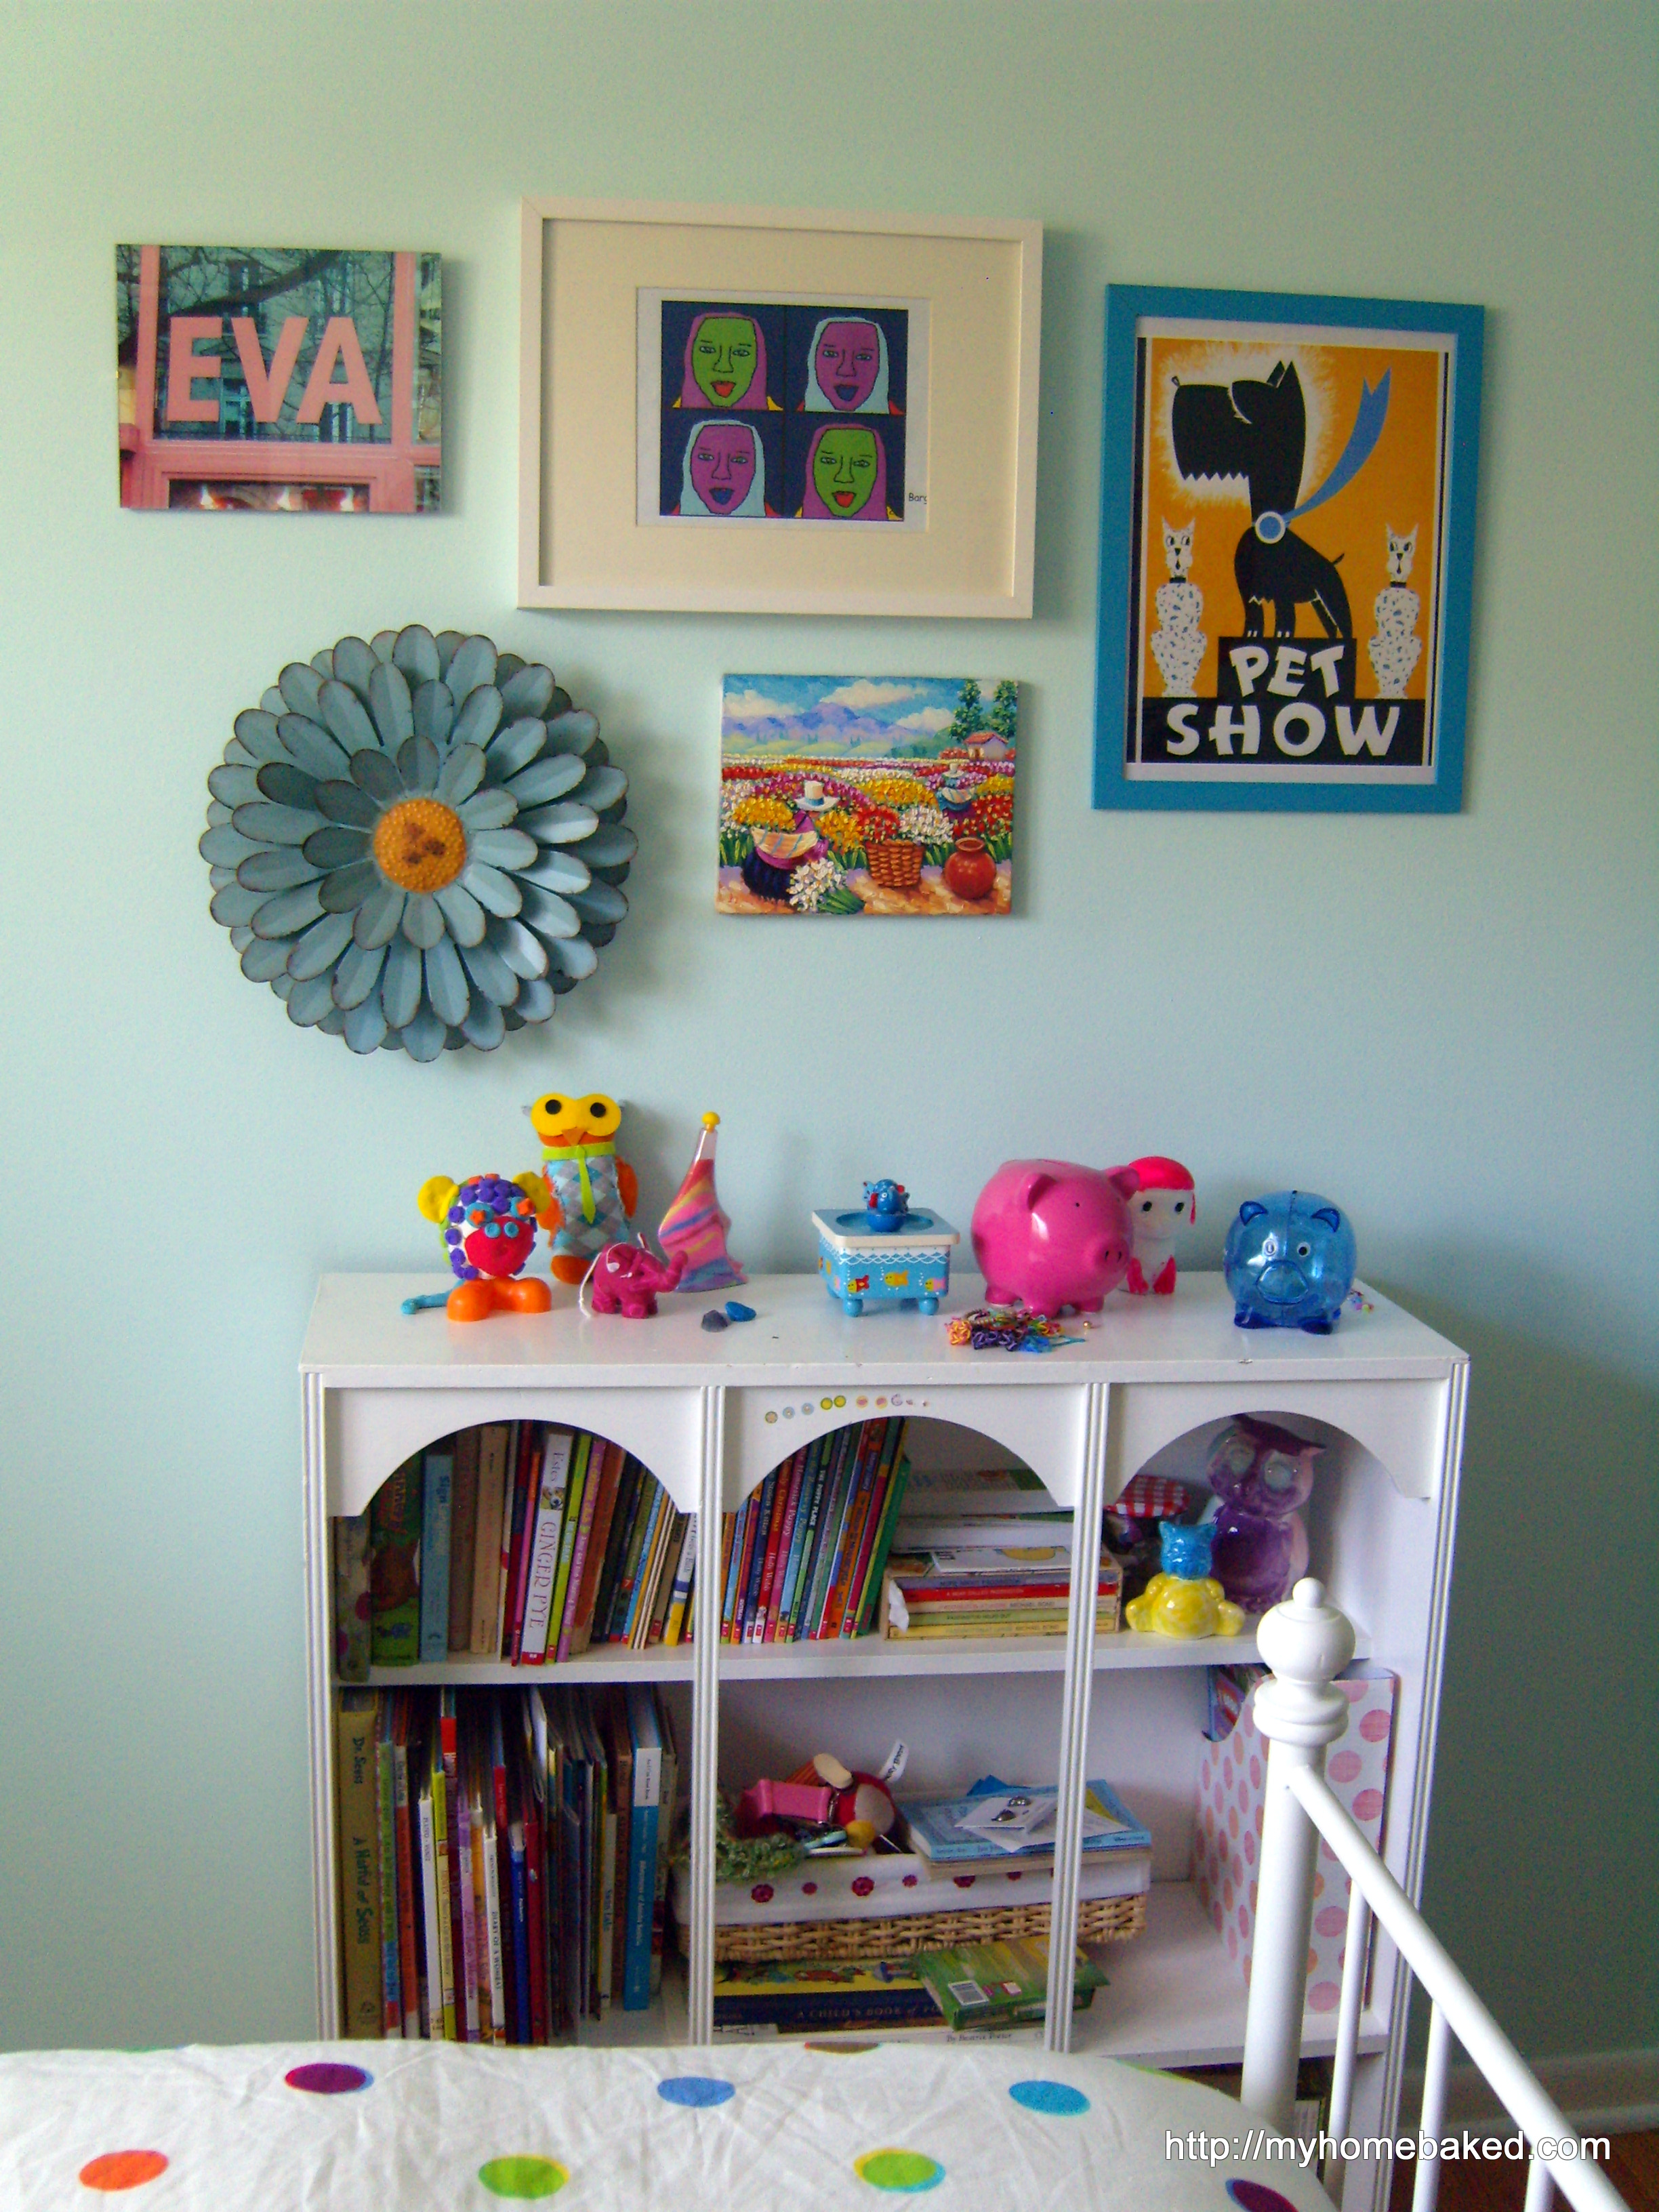
I also hung some artwork, but still have a couple more things to hang: the cork board and a mirror and shelf that we’re going to turn into a little vanity area.

I’m pretty sure there were other things on my summer to-do list, but I’m choosing to ignore them. Any progress is cause for celebration!

Advertisement

Powder room makeover

For once, I started and finished an entire project in the same week, instead of letting it drag on for weeks on end, while we trip over tools and supplies cluttering the spaces around my project. How? Little Five went on vacation to his grandparents’ house for the week.

Though I’ve missed him, it has been interesting to experience a little of what life will be like in a couple more years, when I don’t have a preschooler at home any more. I was able to take off on a spontaneous bike ride with Miss Seven, leaving Mr. Ten at home, without worrying whether someone was keeping an eye on little brother. We all went to Target and spent at least an hour browsing without anyone having a meltdown. On Monday I ran three different errands at different times of day without packing a snack in my purse or planning an exit strategy. The family room has remained tidy all week.

I had an ambitious list for this week, and certainly haven’t accomplished everything on it. No doubt I could have gotten more done if I hadn’t discovered a trove of Doc Martin fanfic on the internet. But after that trip to Target, where we found new hand towels and a rug, I decided to focus on the powder room. First I finished painting the honey oak door and baseboards white. I wiped all the wood down with liquid deglosser (bad news for my party manicure–now I’m back to my normal paint-splattered look) and then brushed on three coats of semi-gloss paint & primer.

I hadn’t yet committed to a wall color, though for months I’d been contemplating a paint chip of Martha Stewart’s “Plumage,” a dark teal. But in a tiny room with no natural light, I just couldn’t commit to painting the entire room such a dark color. Taking a cue from the colors in the new hand towels, I chose a pale silvery gray called “Cumulus Cloud,” and bought a little tester pot of “Plumage” to paint just the wall above the sink.

I’m so pleased with the results. I really like the wall color, and I love how the clean white paint on the trim and door freshens up the room. The oak baseboards had gotten so grimy I couldn’t scrub them clean. And you know what makes a huge difference? Caulk, that’s what. I got so crazy with the caulk gun, I caulked along all the baseboards in the foyer that I painted last year.

While I had the white paint out, I finally painted the edges of the pantry and basement doors. Funny how those little details go so far in making the house feel finished.

What project would you tackle if you had a week of free time?

Kids’ bathroom progress part 2…almost done!

So, so close.

Since last week, I finished painting the gray walls, installed two shelves on the wall over the toilet, hung the beadboard wallpaper, scraped and sanded the old caulk off the baseboards and reinstalled the shoe moulding, caulked, and painted the beadboard wallpaper. It’s obviously not a big room, so it took 15 minutes here, an hour there. Still to do: paint the baseboards and perhaps give the beadboard a second coat, and finish hanging artwork. I was on a roll and probably would have finished yesterday, but I ran out of paint. But if you don’t look at the baseboards, it looks good!

For fun, here’s the evolution of this bathroom over the past 6 years:

Before

Before

This is how it looked before we moved in. Certainly not terrible, but the details became annoying after we lived with it for a while. Wallpaper, shower doors (have you tried bathing a squirmy baby when you can only reach half the bathtub?), two-toned hardware. And a toilet paper holder waaaay too far for a kid to reach when he needs it!

First attempt

First attempt

After the first major set of changes to make this bathroom more functional for three small children: removed the shower doors, installed hook rail for towels, painted the vanity and changed the hardware, moved the toilet paper holder, stripped the wallpaper, changed the light fixture. At this point I wasn’t really sure where the color scheme was going.

After

After

Now, the gray and white is a cool backdrop for the kids’ bright towels and accessories. There aren’t any heavy glass shower doors to clean or worry about safety (one fell off the track once–very scary!), and there are plenty of hooks to hang towels, robes, and wet bathing suits. The colors feel more like us, and the room functions much better.

How much did I spend on this final stage?

  • Ikea shelves: $30
  • Ikea towels: $22
  • beadboard wallpaper: $19
  • wallpaper paste: $5
  • 1 quart Heather Gray paint: $2

The rest of my supplies I already had…caulk, white semi-gloss paint, etc. I got my wallpapering tools from Freecycle! Even though I need to buy more paint to finish the baseboards, I have lots of other trim in the house that needs a fresh coat.

I’m very pleased with the beadboard wallpaper. For a novice like me, it wasn’t difficult to hang. As I hoped, caulk and paint disguised my sloppy edges and less-than-precise measuring. It only took about an hour to measure, paste and paper that half wall.

Ikea towels come with loops for hanging!

Until I get around to buying that paint, I’ll focus on hanging the rest of the artwork. Miss Seven will be pleased when I get the stack of frames out of her room and onto the wall.

Bubble prints made at the school art fair

Painting oak trim and doors

I know some people think it’s sacrilege to paint over wood trim, but I feel fully justified in this case. Here’s the deal: Most of the doors and trim in our house were painted white by previous owners. Our kitchen cabinets and crown molding are white. But in a few spots–most notably the foyer, hallway and family room–there was newer yellow oak trim and hollow-core slab doors.

This isn’t lovely original millwork that ought to be preserved. I assume these were added when the hardwood floor was replaced at some point, because they don’t match the original baseboards and trim upstairs. Unfortunately, these spaces flow right in to the living room and kitchen, where the trim is white. So we’ve lived with all this strange conflicting trim–some of it even on the same wall!–for five years. It hurt my eyes.

Oak trim around the white sidelights and black front door. Too many finishes!

A few weeks ago, I finally got out the paintbrush and began on the trim in the foyer. Today I’m priming (maybe I’ll get to a coat of paint) the trim and three doors (pantry, bathroom and basement) in the hallway. For the foreseeable future, we’re leaving the family room alone. The room is more self-contained, so the conflicting finishes don’t stand out so much.

Finished front door and baseboards.

This is still a work in progress. I’m reasonably confident I’ll finish the painting this week, but I still need to remove the closet doors so I can paint the inside of the door frame. I would also like to add trim to the slab doors, like this project I found on Pinterest.

Like most of you, I don’t have great swaths of time to work on these projects. Just 30 minutes here and there, between writing projects, laundry, supervising homework, chauffeur duty, and today, a sick child home from school. Too often I put things off because I don’t think I’ll have enough time to complete them. But usually, if I just start something, it doesn’t take very many of those small pockets of time to complete it. And the results are worth it.

One door primed, one to go.

If you’re tackling a project like this yourself, you might want to know what products I’m using. Even though the oak has a glossy coat of polyurethane on it, I’m not doing any sanding. I wiped everything down with a liquid deglosser, then used one coat of primer. Two coats of good quality interior semi-gloss (we’re using Benjamin Moore’s base white color), and it’s done. I’ve painted some trim without using the deglosser first, and it required at least two extra coats of paint, so I’d definitely recommend it.

Already, the streaky coat of primer on those doors has brightened up the dark hall. I’m off to prime one more, and tomorrow I’ll do a little more.

Primer done! Tomorrow: paint.

Painting lampshades

We have this brass chandelier in our dining room that came with the house. I don’t love it, but anything I really like is not exactly in the budget. A few years ago I bought some cheap Ikea lampshades for it, but there wasn’t any color selection, and they have yellowed and just look dingy.

I looked around for new shades, but for six plain black chandelier shades, that could be nearly $100. If I’m going to spend that much, I’ll put it toward a new fixture. Then I saw this tutorial for painting a lampshade. It’s taken me a couple months, but I finally gave it a try. What did I have to lose?


I used the same exterior semi-gloss paint & primer that I used on the front door. I started out with a little artist’s brush, but it took forever to paint a single shade, and it seemed a little streaky. I looked at the row of five more shades lined up on the table, and I switched to my trusty two-inch paintbrush. MUCH faster. It took two coats of paint, and I did use the small brush to paint the rolled hem.

My kids accuse me of painting everything black. They exaggerate, but black seems to give everything a little more weight, a little more style. The new black shades will give the brass chandelier a reprieve until we find a fixture we love at a price we’re willing to pay. It could be years…

Painting the front door

Why did it take me so long to get around to this?

I’ve been meaning to paint the front door for ages, and yesterday I was finally moved to just get it done. Well, I did the exterior. I was waffling on whether to paint the inside of the door as well, but after a quick browse through some inspiration photos on Pinterest (just search for “black door”), I was reassured. Today’s project: paint the interior side.

Before

I dropped Little Four off at preschool and went straight to Home Depot and bought a quart of Behr Premium Plus Ultra exterior semi-gloss enamel in Black. I looked at some paint chips, some more greeny-black, some more gray-black, but when it came down to it, I just asked for plain old black. I’m very happy with it. Somehow the glossy black makes the entrance more impressive, and I like how the brass hardware pops out.

First coat

As I expected, it took three coats of paint–maybe an hour, total? All I needed was a 2-inch angled brush and some painter’s tape (to tape off the hardware).


After

I’ve got about two hours before I need to leave the house again…time to put my painting clothes back on and get the first coat on the other side!