

Last winter we suffered a moth infestation in our closet. Not that we actually saw the little pests, but we certainly discovered the holes in our wool sweaters. I couldn’t bear to toss them all out, so I stuffed the nicest ones into a bin on my sewing table until inspiration struck.
This sweater was a particularly nice wool from the Brooks Brothers outlet. It was a men’s medium or large, and the worst holes were in the ribbing at the bottom of the sweater. You don’t have to wait until the moths attack your closet before taking on this project. You can use a sweater that’s outgrown or suffered a laundry mishap, or you can wander the aisles of your local thrift store for pretty sweaters to transform.
Pillow cover
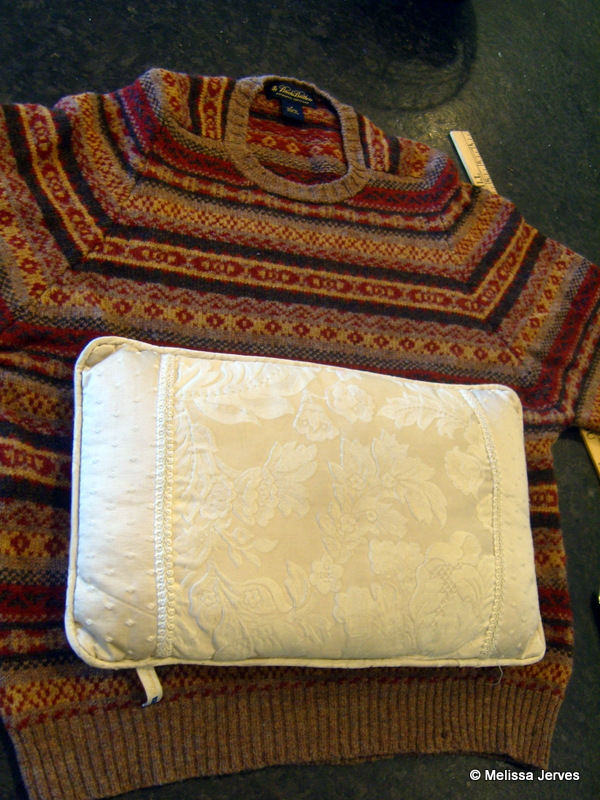
- Examine your sweater and identify where all the moth holes are. Find the biggest area without holes and lay your pillow form on it to make sure it fits.
2. I decided to make an envelope style opening, with the ribbing as a decorative detail in the front. See how I tried it on the pillow to make sure it fit.

3. Then I stitched the two pieces together, wrong sides together, at the wide end to make one larger piece.

4. Fit the piece around the pillow, wrong side out, pinning the sides to fit.

5. Stitch up the sides, turn the cover right side out, and try it on your pillow.
But wait! There’s more!
There were still those nice sleeves left, so I decided to make myself a new pair of mittens. I always have cold hands, and mittens hold in the heat better than gloves.
Mittens
1. Lay a mitten that fits well onto the sweater sleeve as a pattern. Cut it out, adding about a 1/2-inch all the way around for a seam allowance. I added a little length to the bottom, too. I didn’t even cut one side–less to sew back up!

2. Turn the new mitten inside out and stitch all around the open edges.

3. Use the mitten you just stitched as the pattern for the second mitten. Sew it up just like the first.

4. Trim the seam allowances about 1/4-inch from your stitching. Turn the mittens right side out and enjoy your warm hands!

