

Thursday afternoon. Naptime.
After a session of sorting through the pile of stuff in the basement (you know the one, that mish mash of things to put away, things you’ve been looking for and couldn’t find, things to donate, and things to throw away), I trudged upstairs and thought about dinner. My weekly menu (just an entry in Google Calendar) told me there wasn’t anything to prep ahead of time for the main course and salad, but it didn’t say chirp about dessert. And if there’s no dessert, you can be sure someone in this house is going to notice.

What can you whip up at 2:15 that will be ready by 3 p.m., when it’s time to do the school run? Yogurt cake, that’s what. I’ve tried similar recipes from several different sources, so this is the adaptation I use now. This week’s version is lime yogurt cake, but next time I might make lemon, or skip the citrus and just add vanilla. No plain yogurt? Use sour cream.
 Quick Yogurt Cake
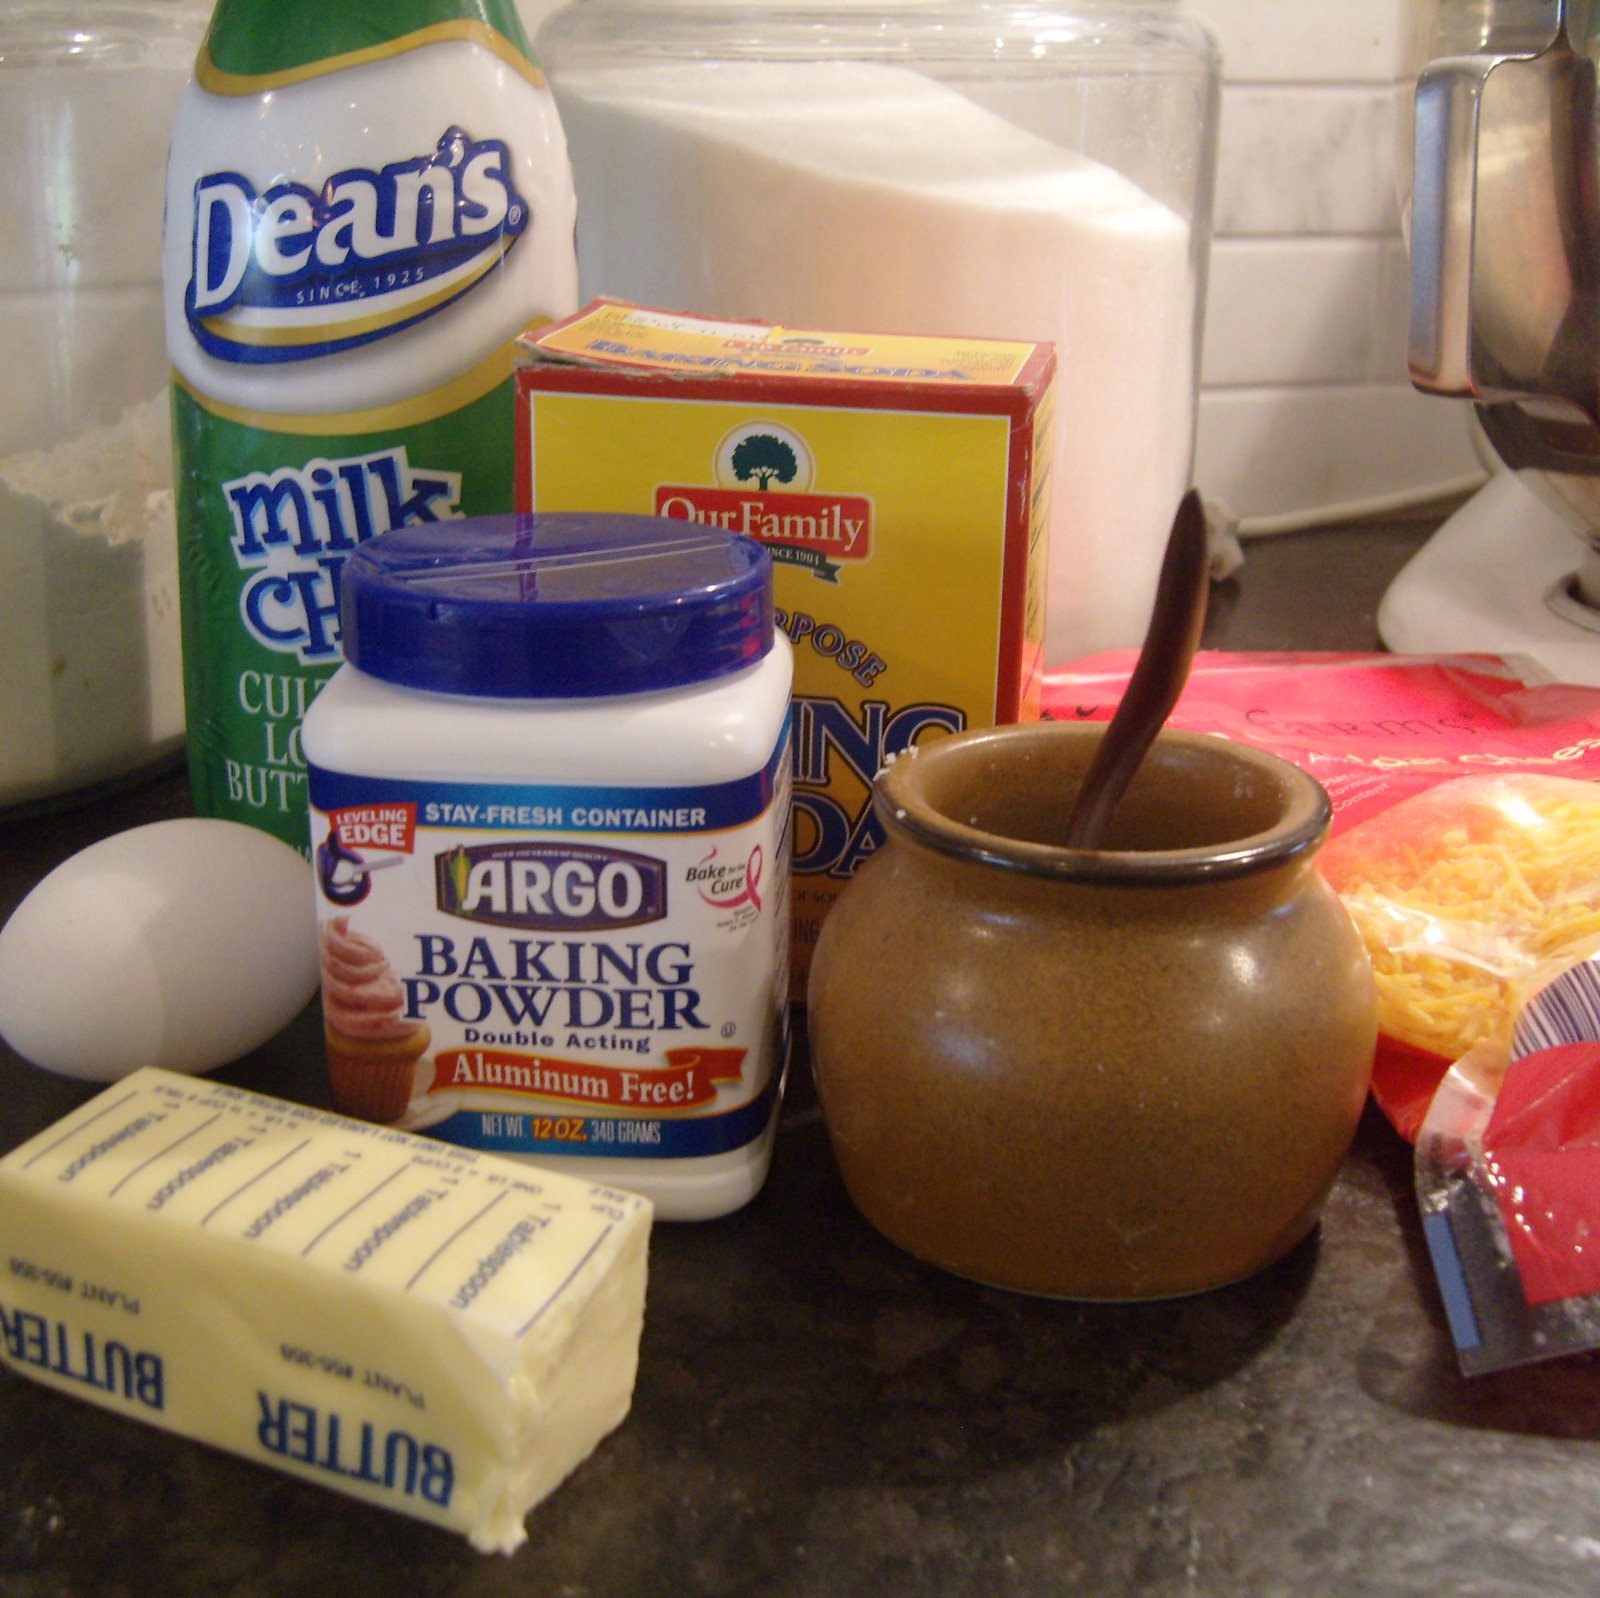
1 cup plain yogurt
1/3 cup vegetable oil
3/4 cup sugar
2 eggs
zest and juice of 1 lime (or lemon or orange, or 1 1/2 tsp. vanilla)
1 2/3 cups all-purpose flour
1 1/2 tsp. baking powder 1/2 tsp. baking soda
1/4 tsp. salt
 Heat oven to 350 degrees. Whisk the wet ingredients together in a large bowl. In a smaller bowl, whisk together the dry ingredients. Add the dry to the wet and whisk until smooth. Scrape the batter into a greased and floured pan (I used a 9″ springform, but a regular cake pan or loaf pan would be fine with wax paper or parchment on the bottom before you grease and flour.) Bake for 35-40 minutes (almost an hour for a large loaf pan), until a toothpick or knife in the center comes out clean.
 |
| School’s out! |
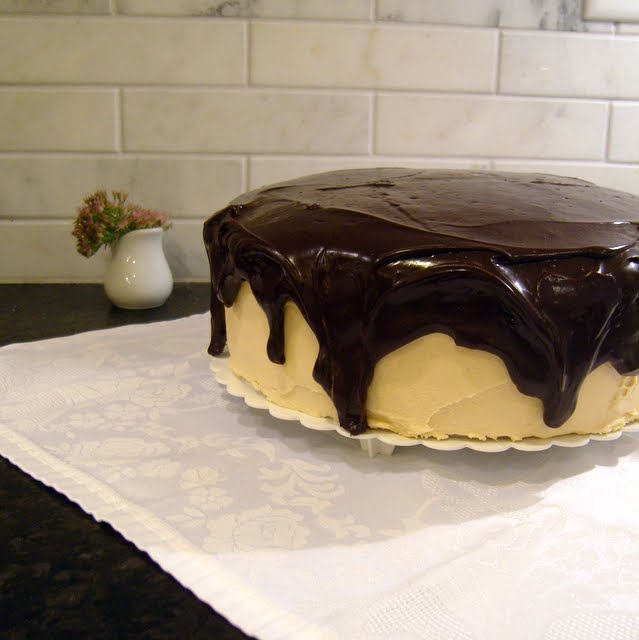
Cool in the pan on a rack for 10 minutes (or as long as it takes to pick up the kids from school). Loosen the edges of the cake from the pan with a knife, and turn out onto a rack to cool. Sift a little powdered sugar over it or serve it with raspberry sauce, warm jam, or a drizzle of chocolate if you’re feeling fancy. Then put on the kettle and have a slice while you quiz this week’s spelling words.

 |
| Still some for dessert |
Moist, tender and barely sweet, the only bad thing about this cake is the wailing when there isn’t any left for an after school snack the following day.


